Let me start by saying that the Eachine EV100 DVR (made for the EV100 FPV goggles) is cheaper and almost certainly works with other goggles. It can be powered directly by a 2S battery, which is commonplace for FPV goggles.

It is the add-on DVR I would buy today for only $15 if I hadn’t already purchased the Eachine ProDVR.
Stu (Stew?) confirms that the EV100 DVR is A-OK.
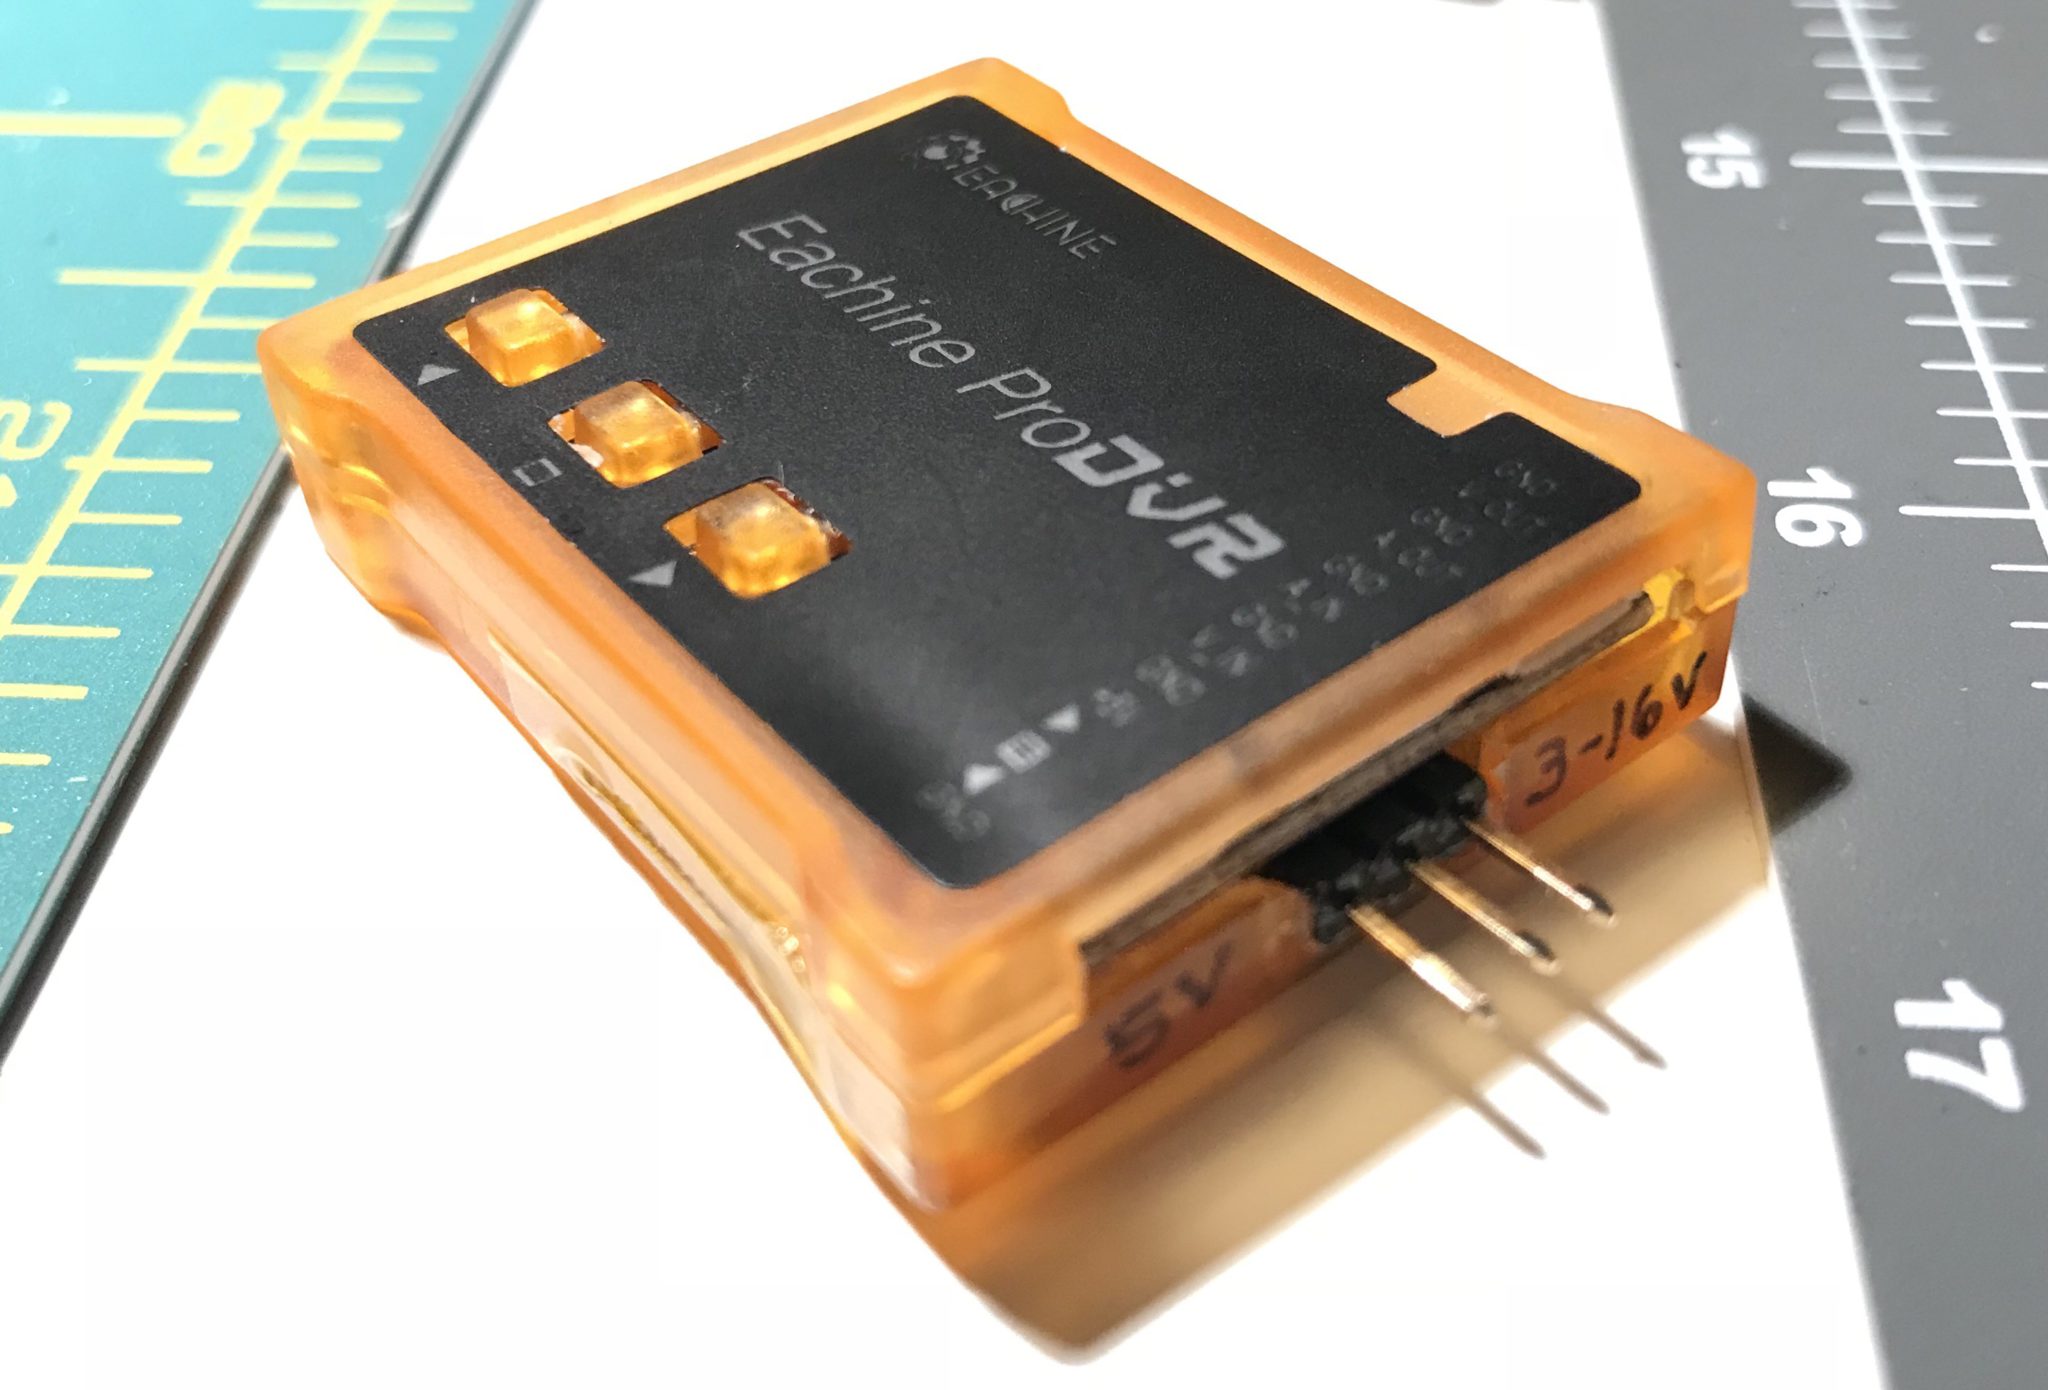
But if you’re like me and have the ProDVR read on. The ProDVR was at one point the cheapest FPV DVR, and possibly because it has some limitations. It requires 5V input, but my box goggle screen and video receiver both require at least 2S (7.4v) power. This necessitates a BEC, or some sort of other voltage regulator to get the ProDVR to power up without letting out the magic smoke.
One thing you can do, is find a 5v power source (or less) from within your goggles. But on my Quanum DIY FPV goggles the battery input splits off into three outputs for the screen, the receiver, and an aux for the DVR, so I need to bring it down to 5v. I chose to add a Pololu 5V voltage regulator that is very small and will allow me to use a 2S or 3S battery.
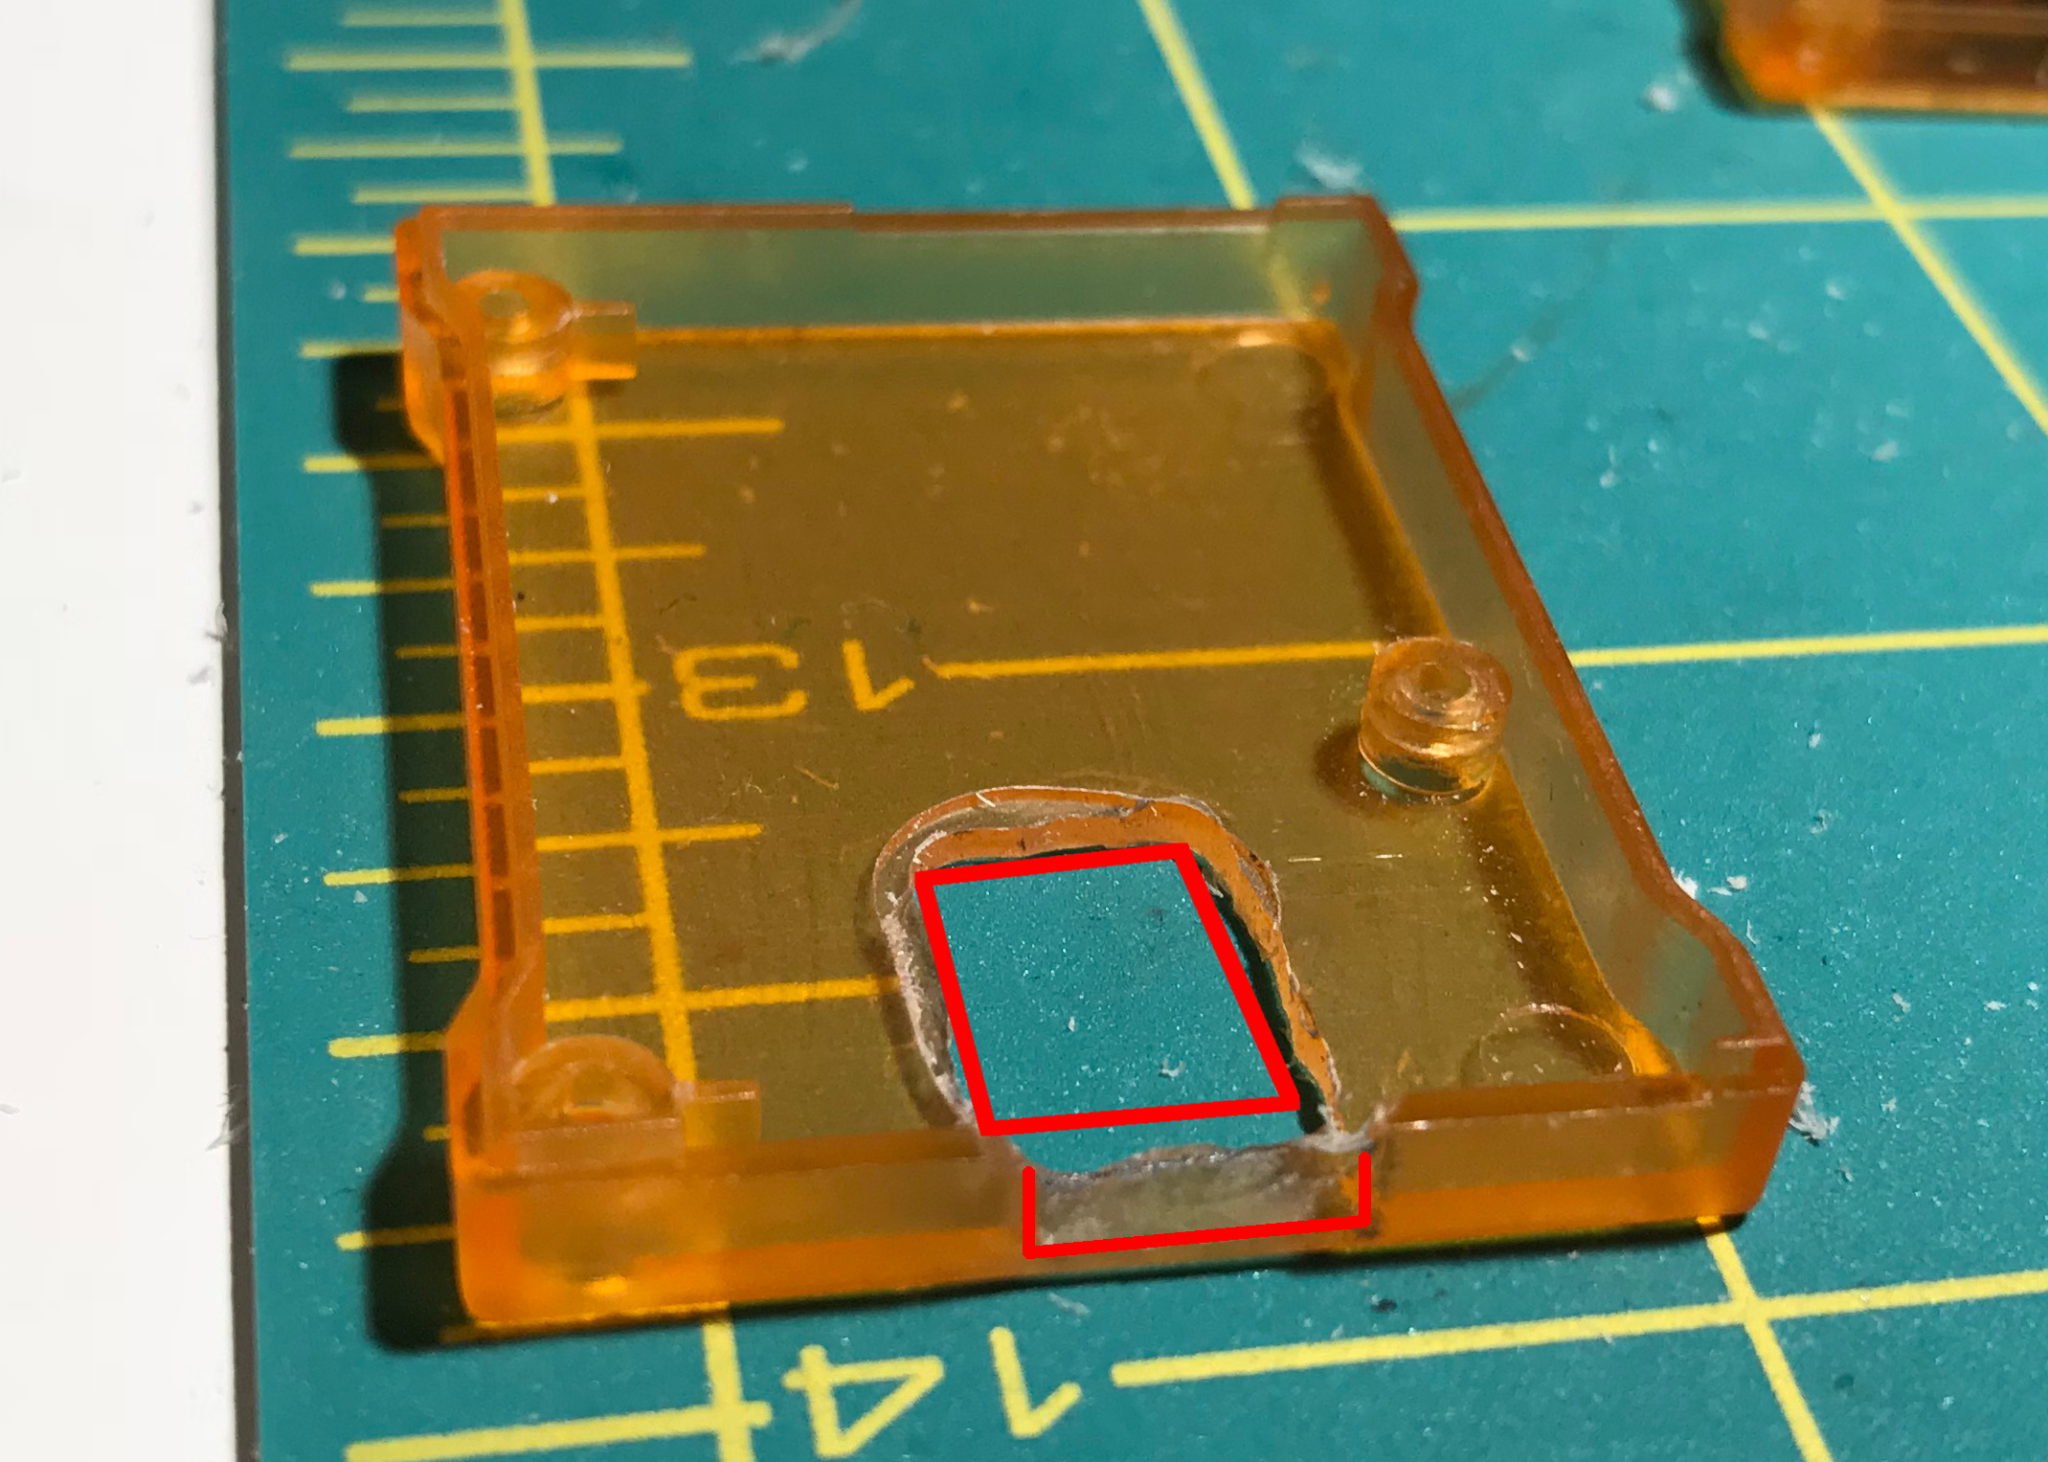
To get it to fit, I used a dremel 196 and 194 cutting bits to cut out a section of the non-buttoned half. I used the bigger 196 bit to cut out the majority of the rectangle and remove a section of the side, and the 194 bit to do the corners and additional fitting. Cuts are highlighted in red:
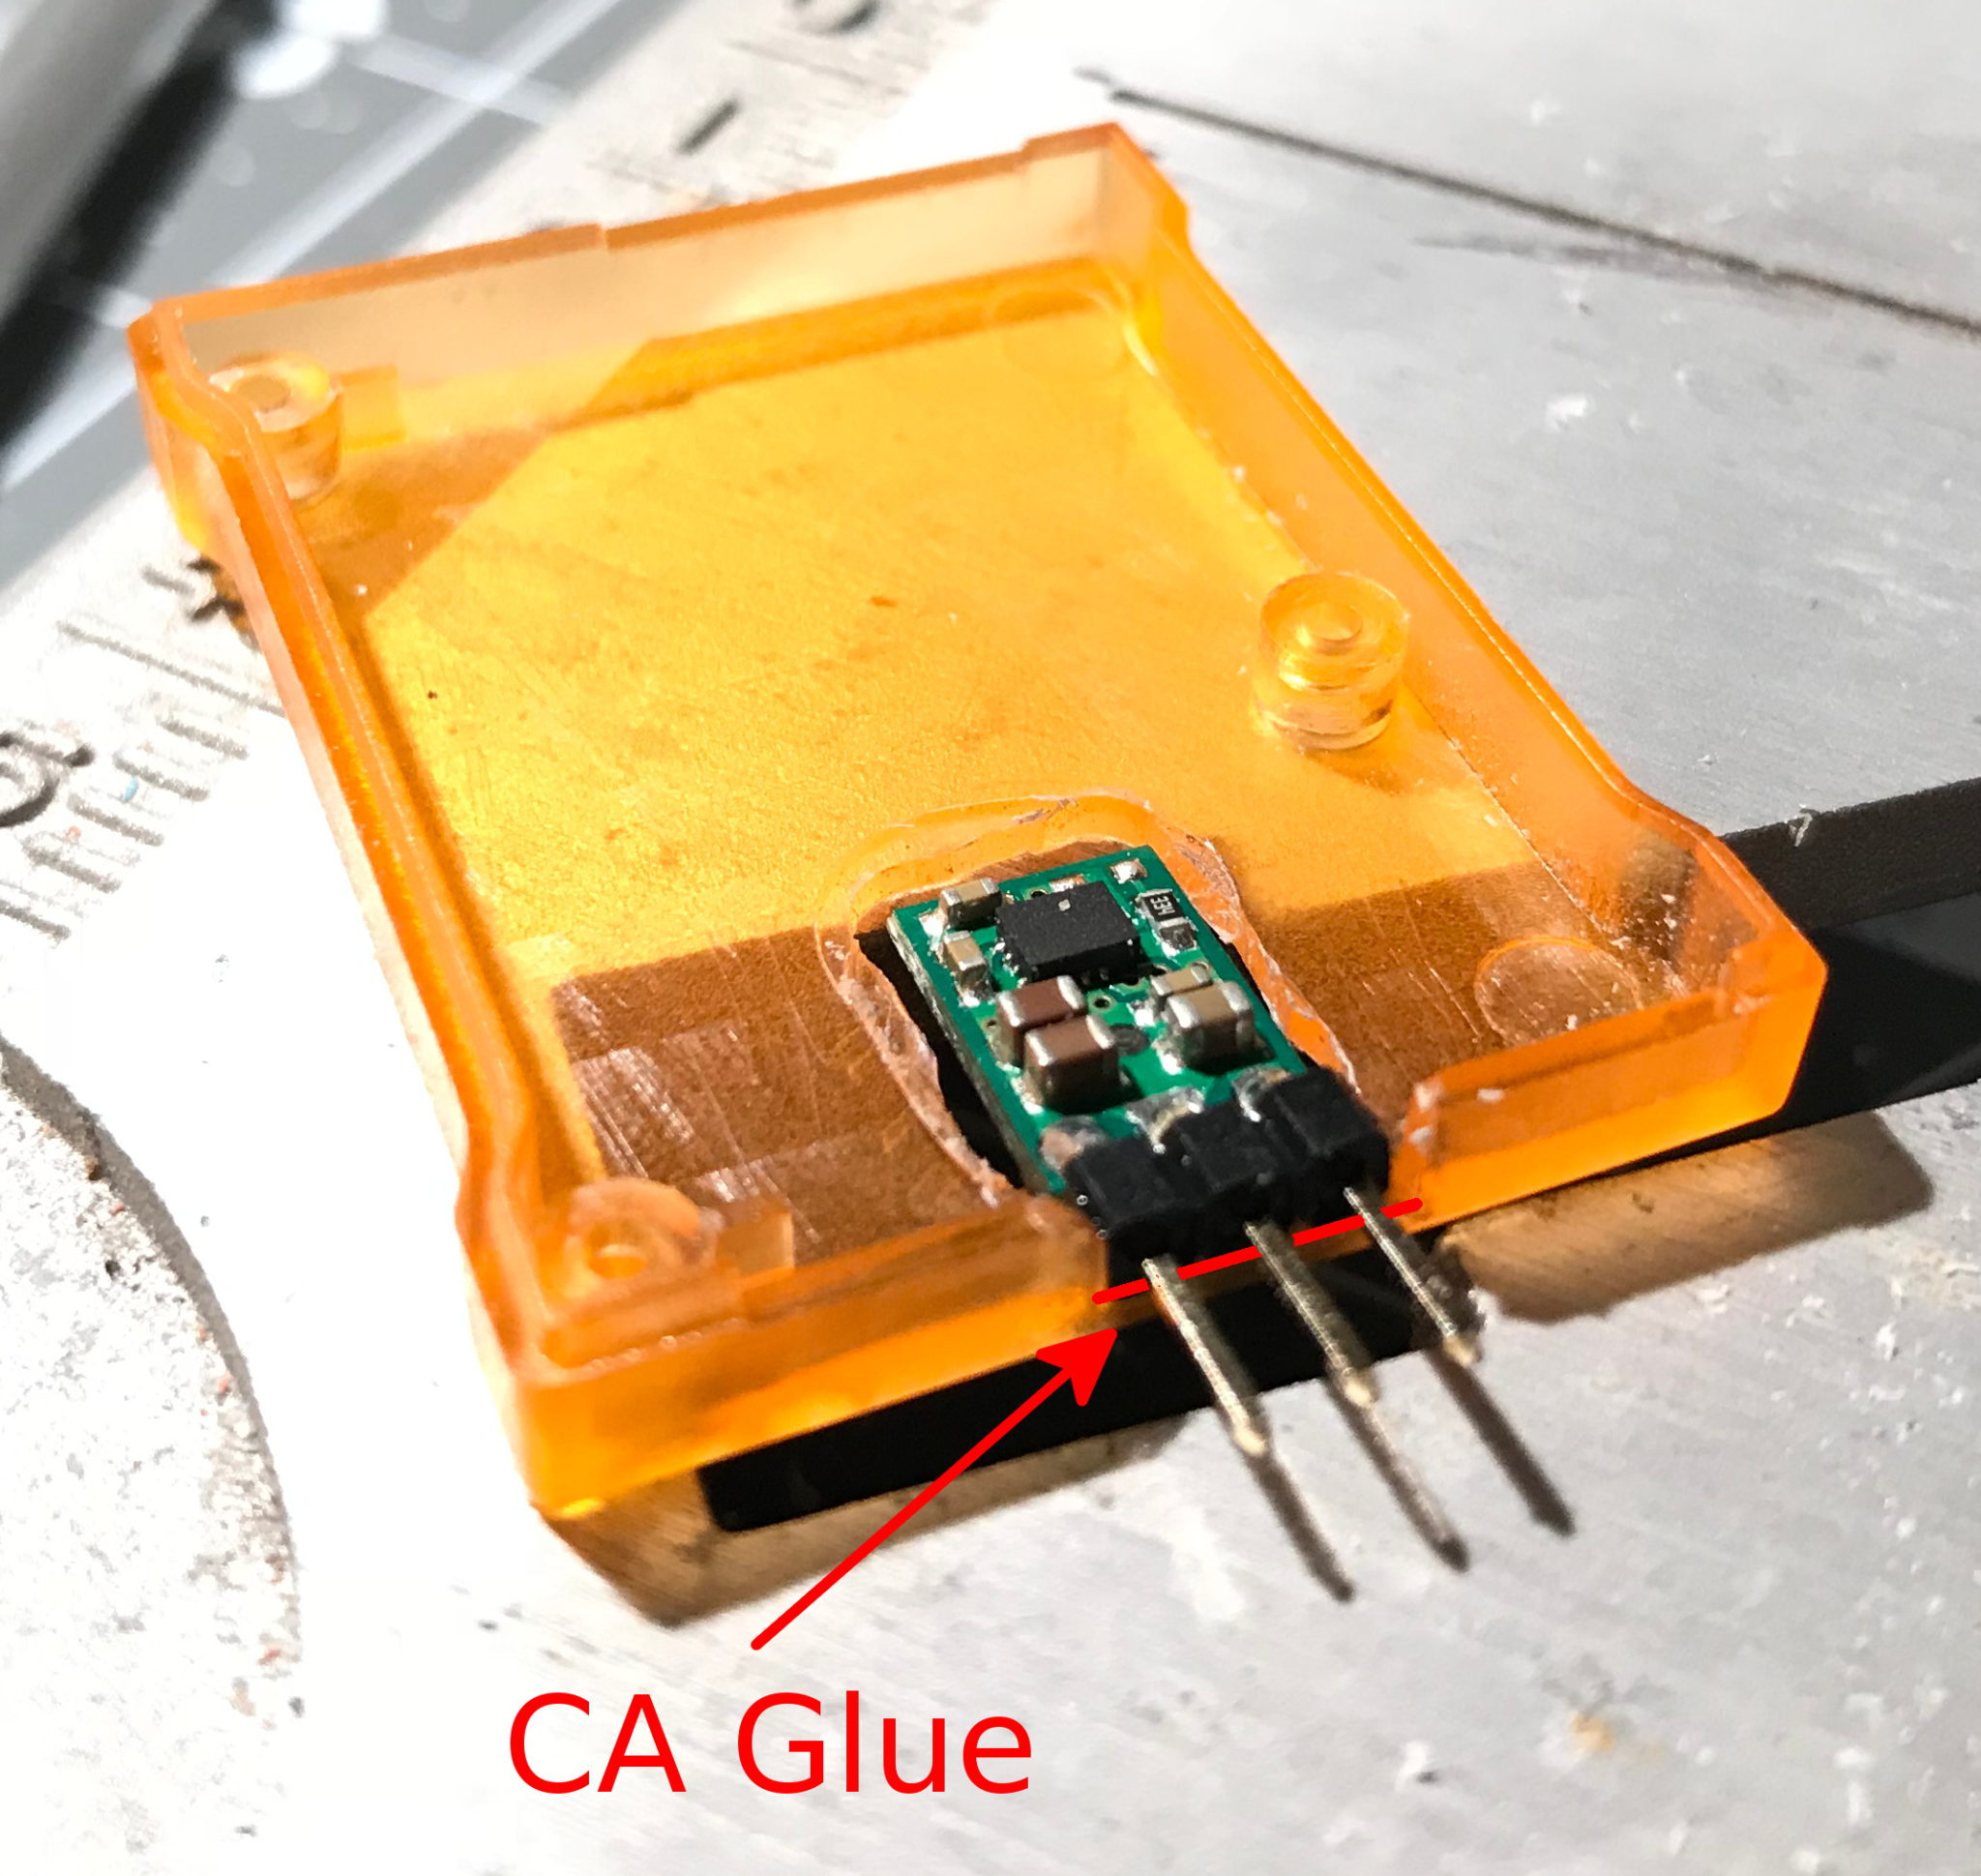
You can test fit with the Pololu regulator’s included right angled pin header. Once it all fits good, solder the pin header to the regulator, and then use some CA glue to help hold the pin header to the case.
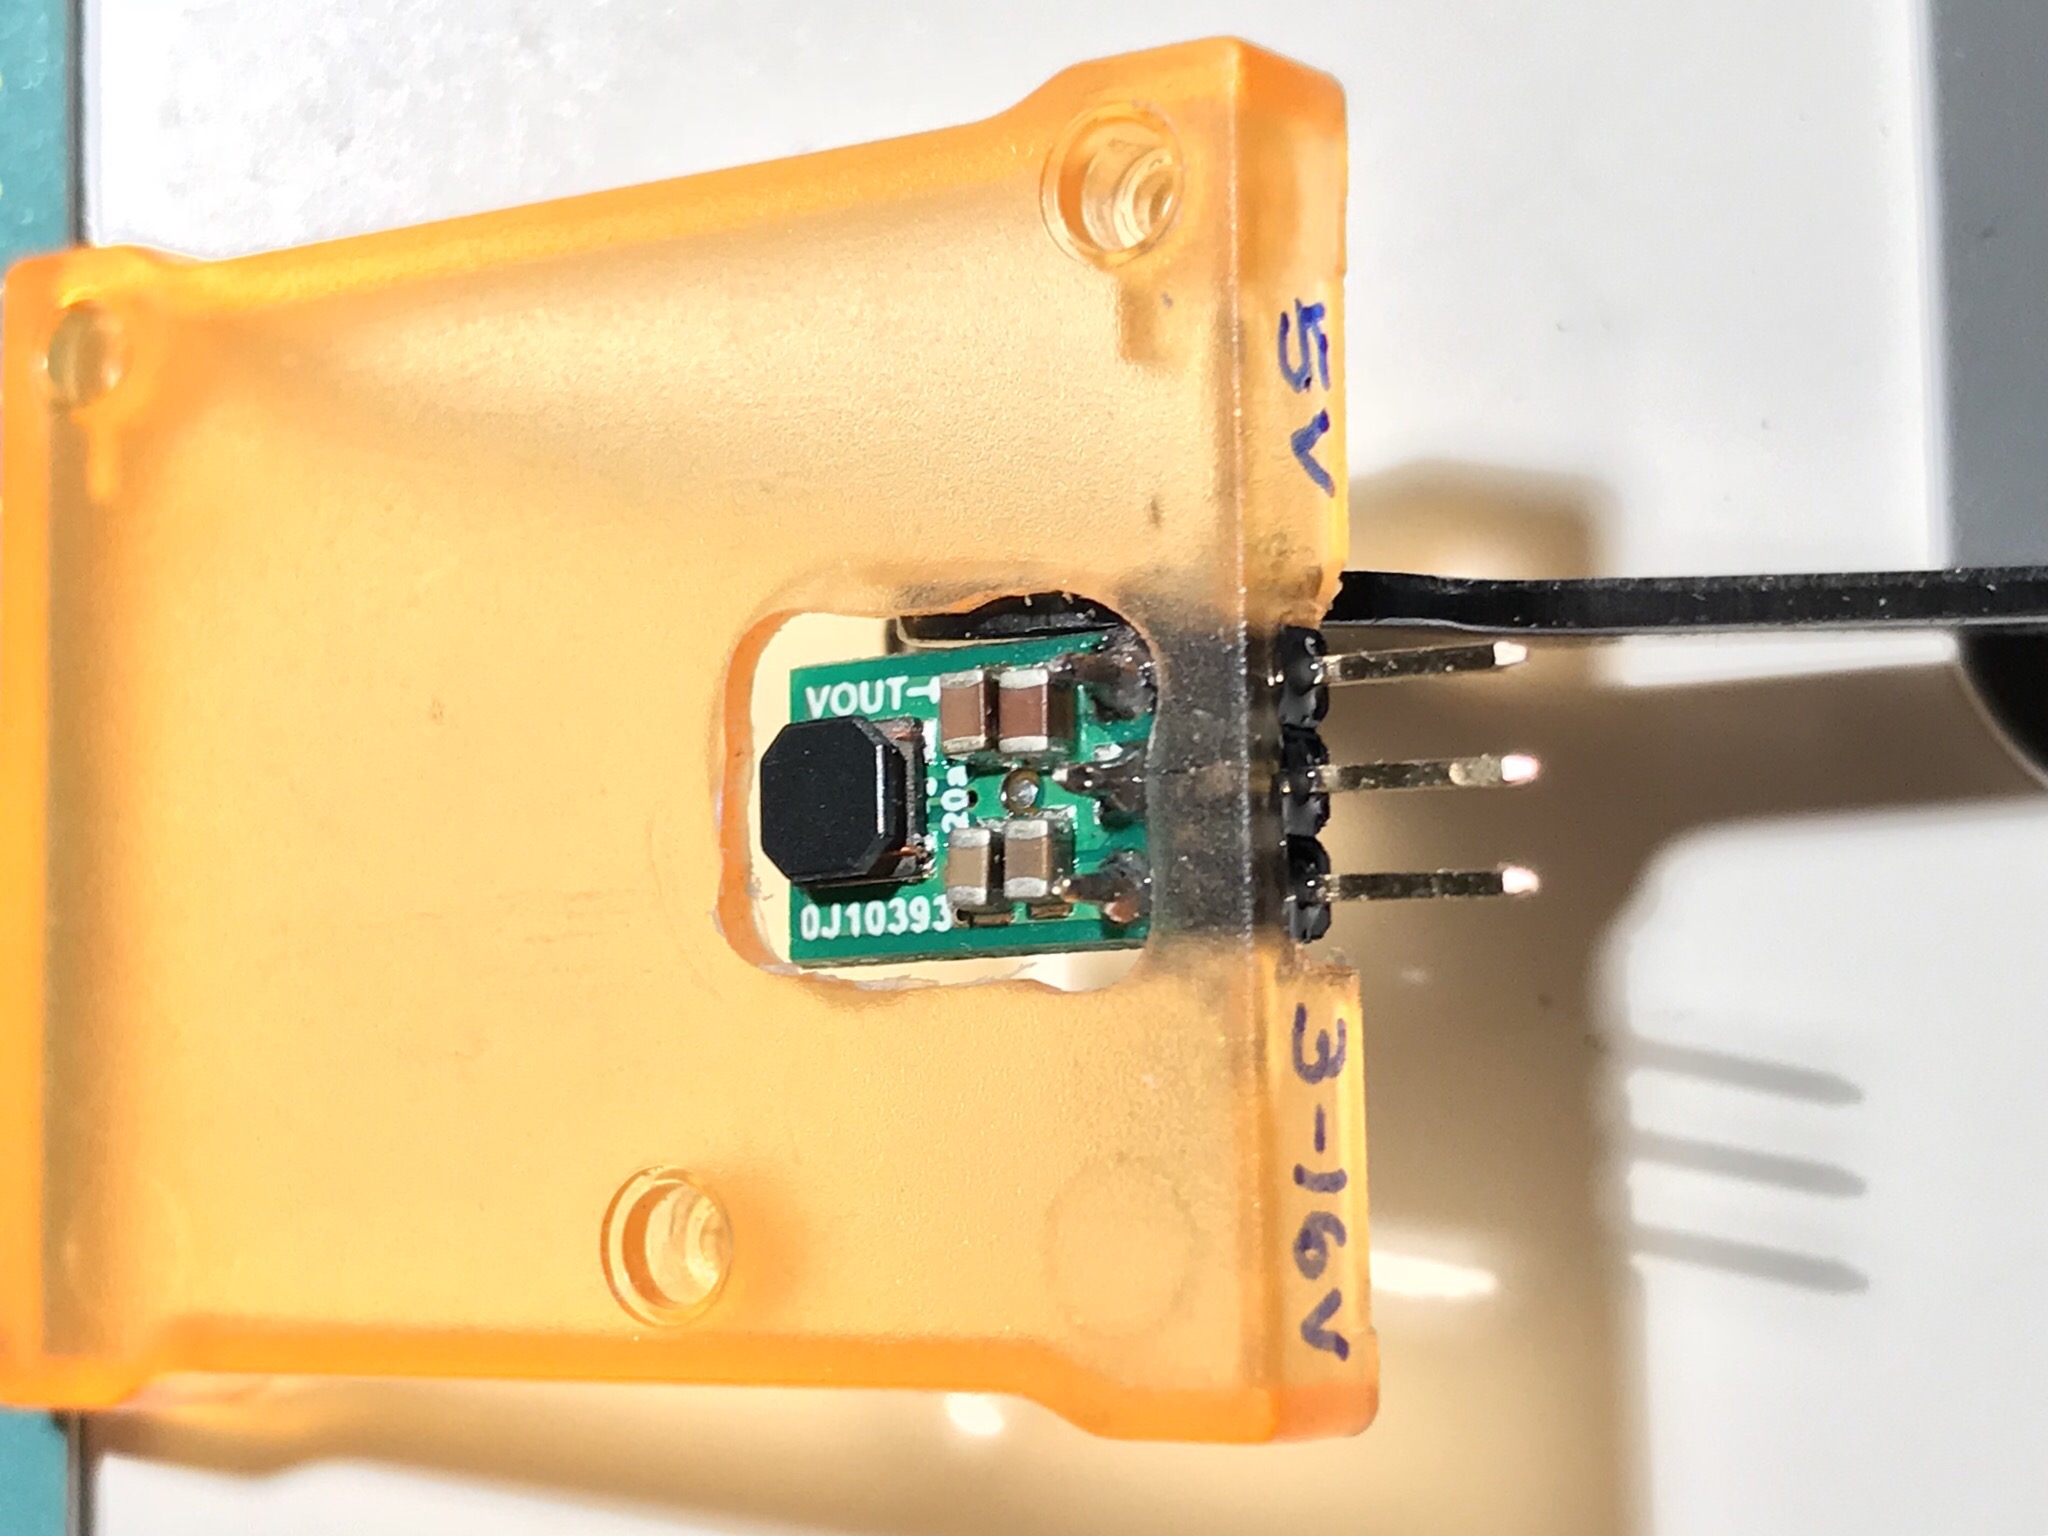
I did one wrap around of kapton tape to protect the Pololu regulator from the outside of the case and any shortages from touching the DVR board on the inside of the case. It’s orange in color so it blends in well:
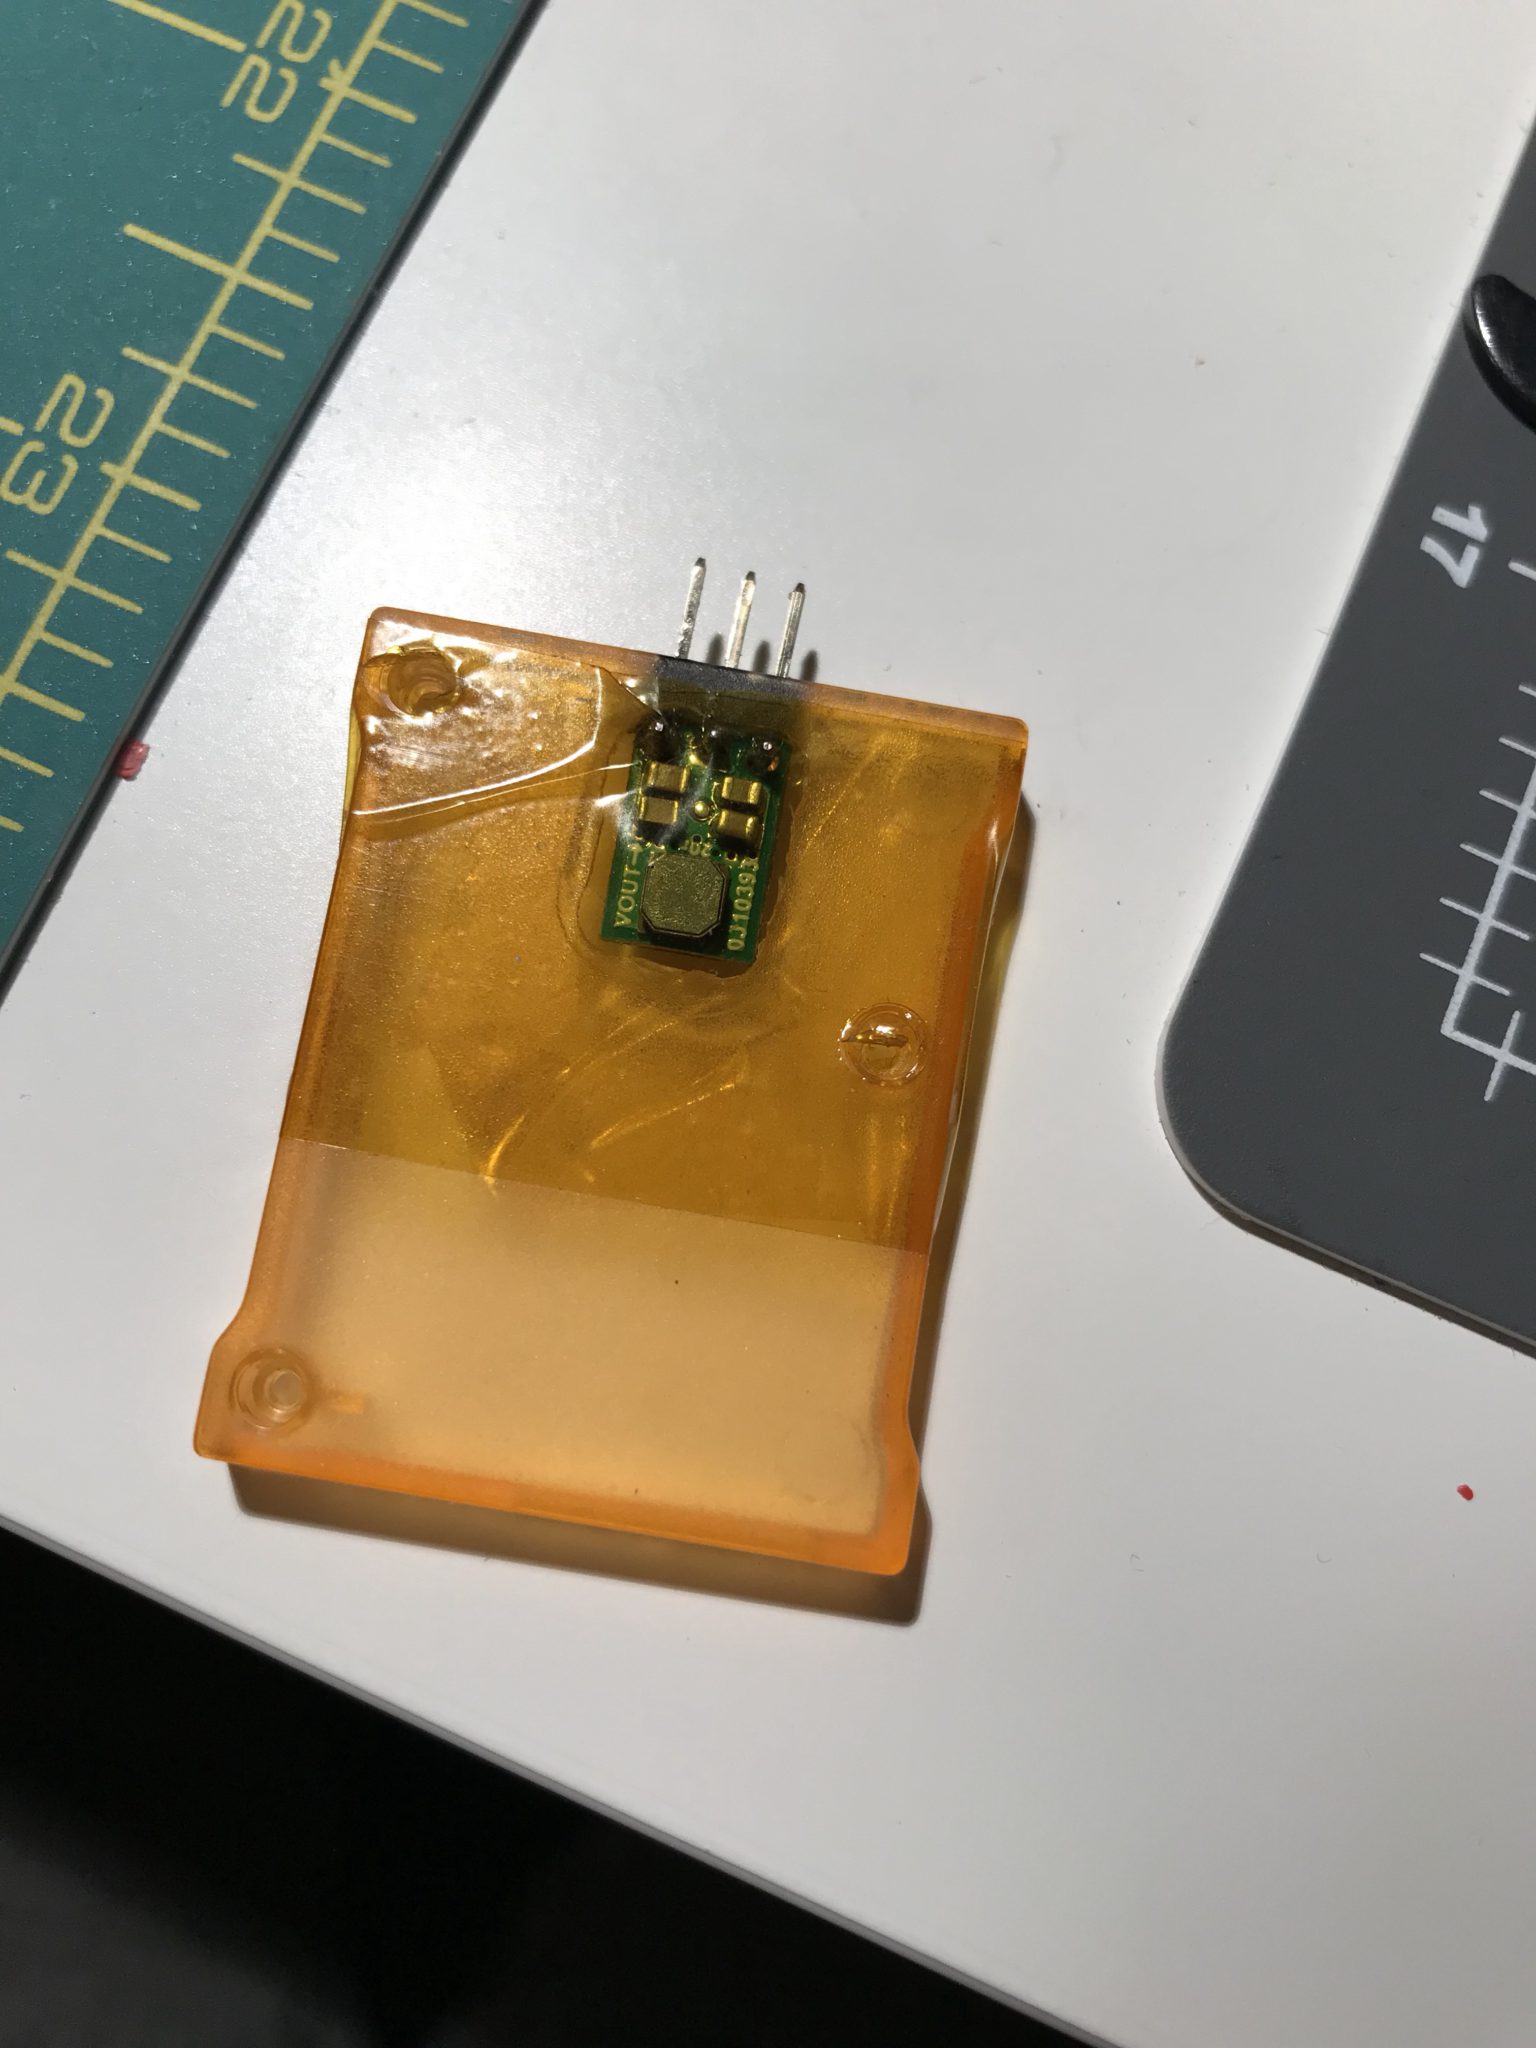
Don’t forget to label the pins on the regulator. The one next to VOUT is for 5 volts out (duh). The middle is a common ground, and the other side is voltage in.
Once the glue is dried, put it all back together. IMO, this regulator should have been included on the DVR board, but you get what you pay for.
I used an extra servo end to do the wiring. I connected the DVR power to one side; connected the DVR ground and battery ground to the middle; the battery power to the opposite side. Here’s what my ProDVR harness wired with my goggle harness looks like:
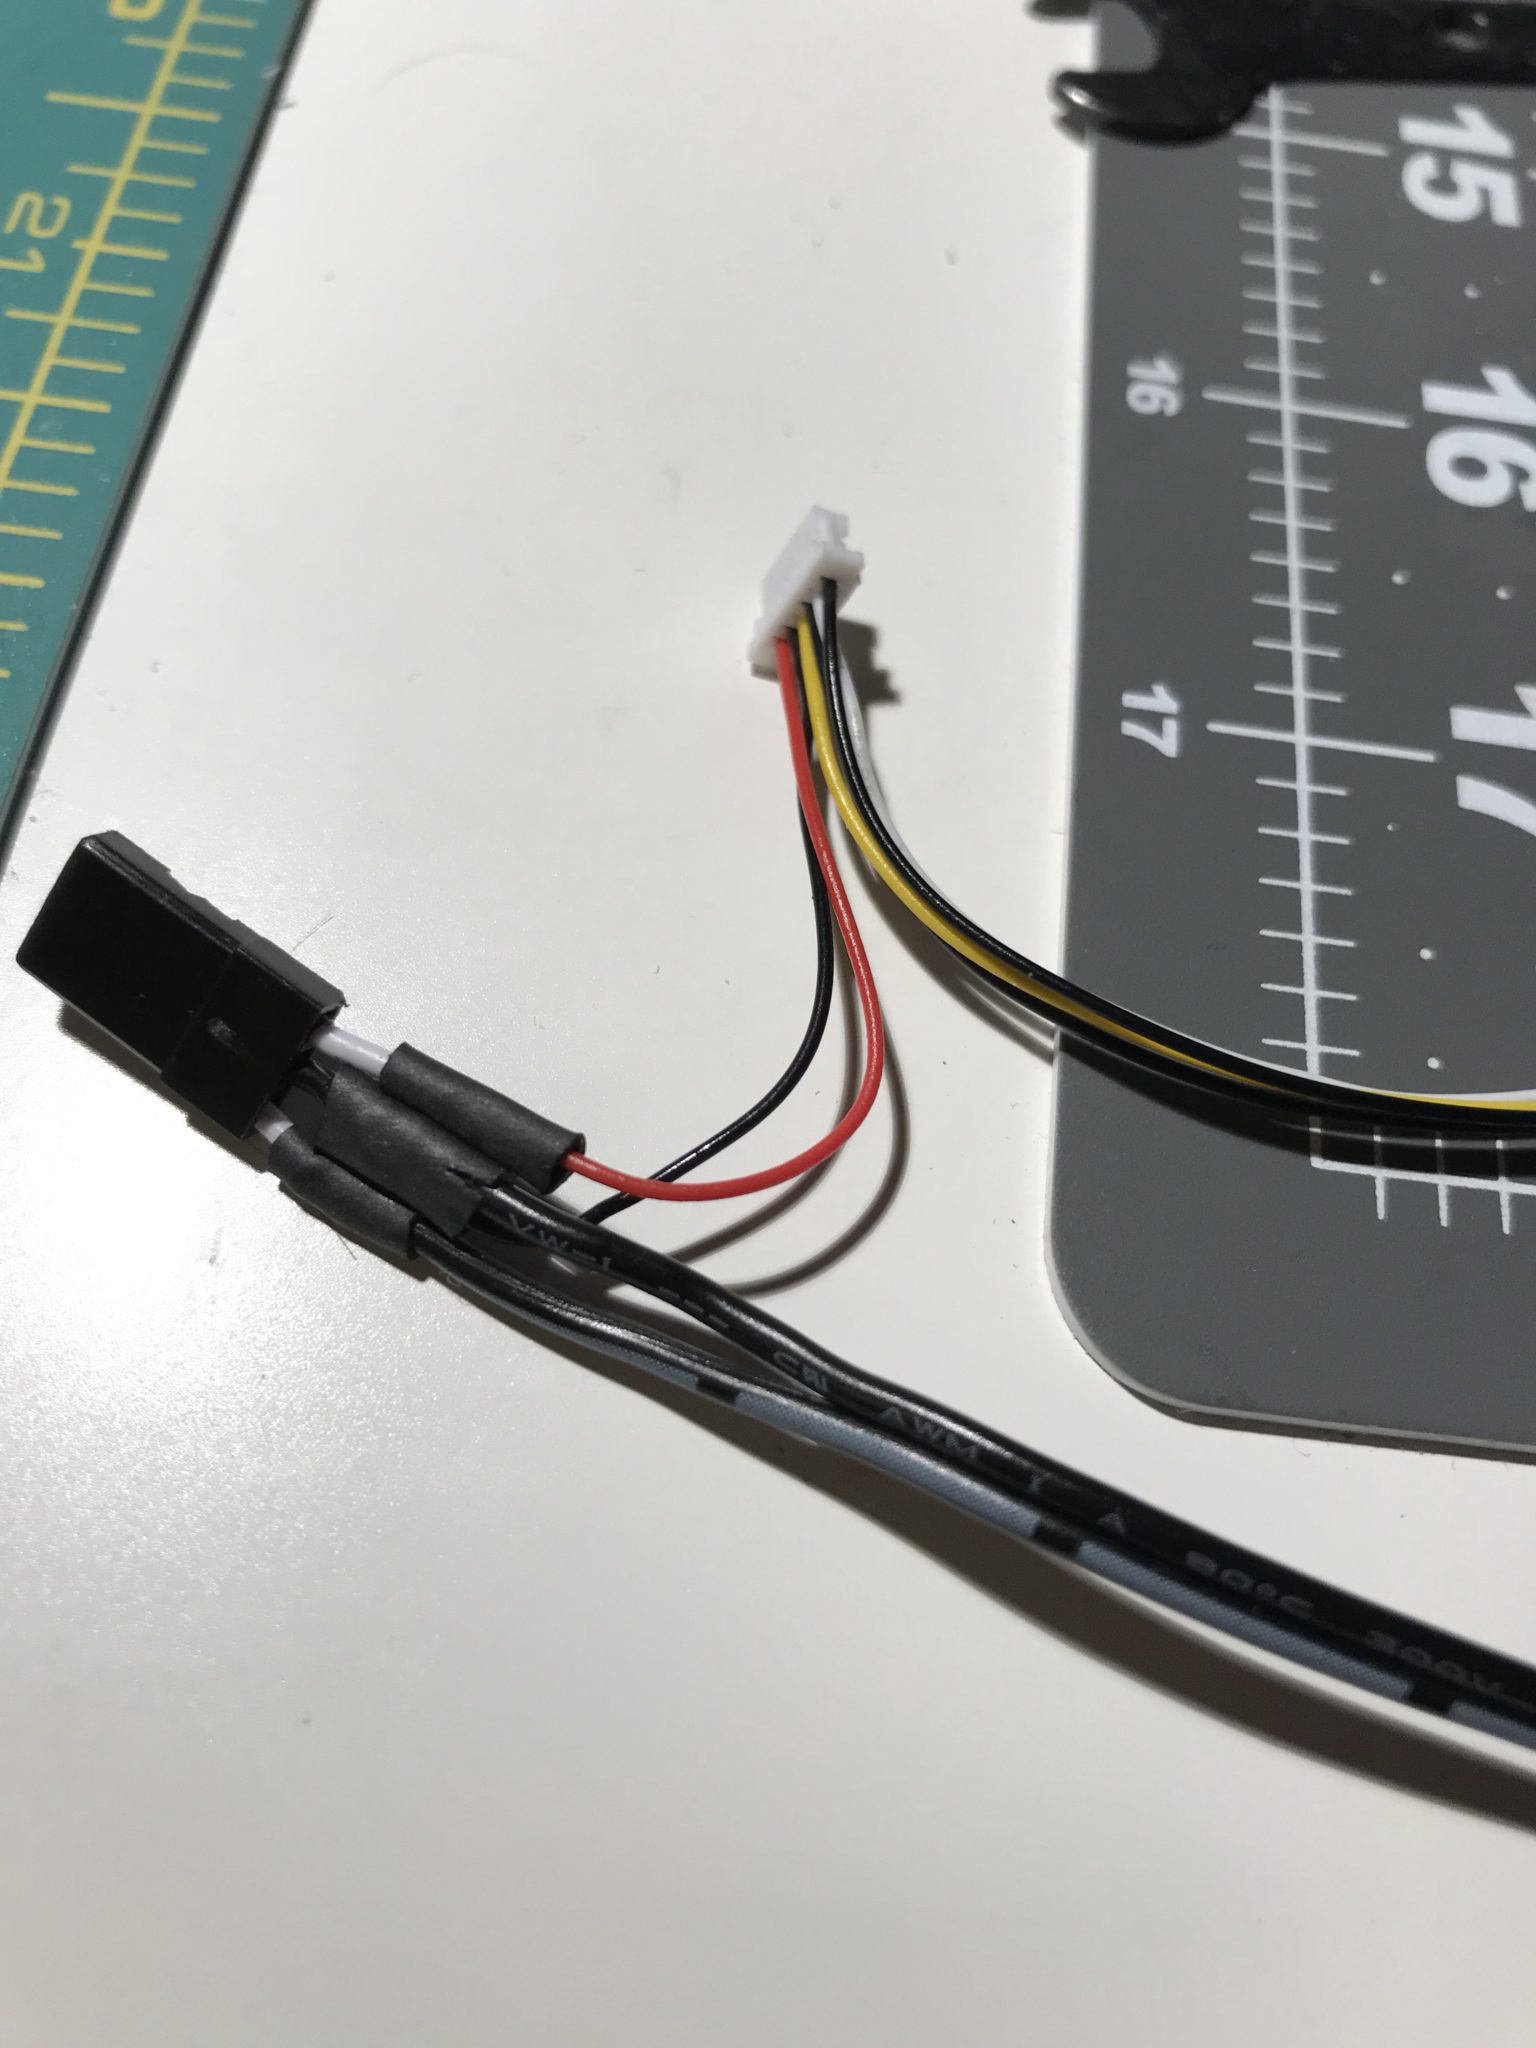
Make sure to observe the battery & DVR wires and which way the servo connector needs to go when hooking it up.

That’s all, a pretty clean install without the need of an external BEC!
Leave a Reply