My Assault 100 helicopter came with a transmitter module that allows you to use it with any transmitter. This module is also used with HobbyKing’s Q-BOT Micro quad and FBL100 helicopter. It’s actually just a rebranded HiSky HT8 module which is used for many HiSky helicopters. Rather than have to charge this module separately and hang it off of my Turnigy 9x, I decided to build a module specifically for my 9x which would power it up and keep it safely in place.

Most of this information was gleamed from this write-up on RCGroups.com. Since I used a different module case, I wanted to document my experience separately…
I got this Spektrum brand module case which includes an antenna from a local hobby shop for $10. I also got a 5-pin “molex” connector to wire it to the 9x’s 5-pin header.
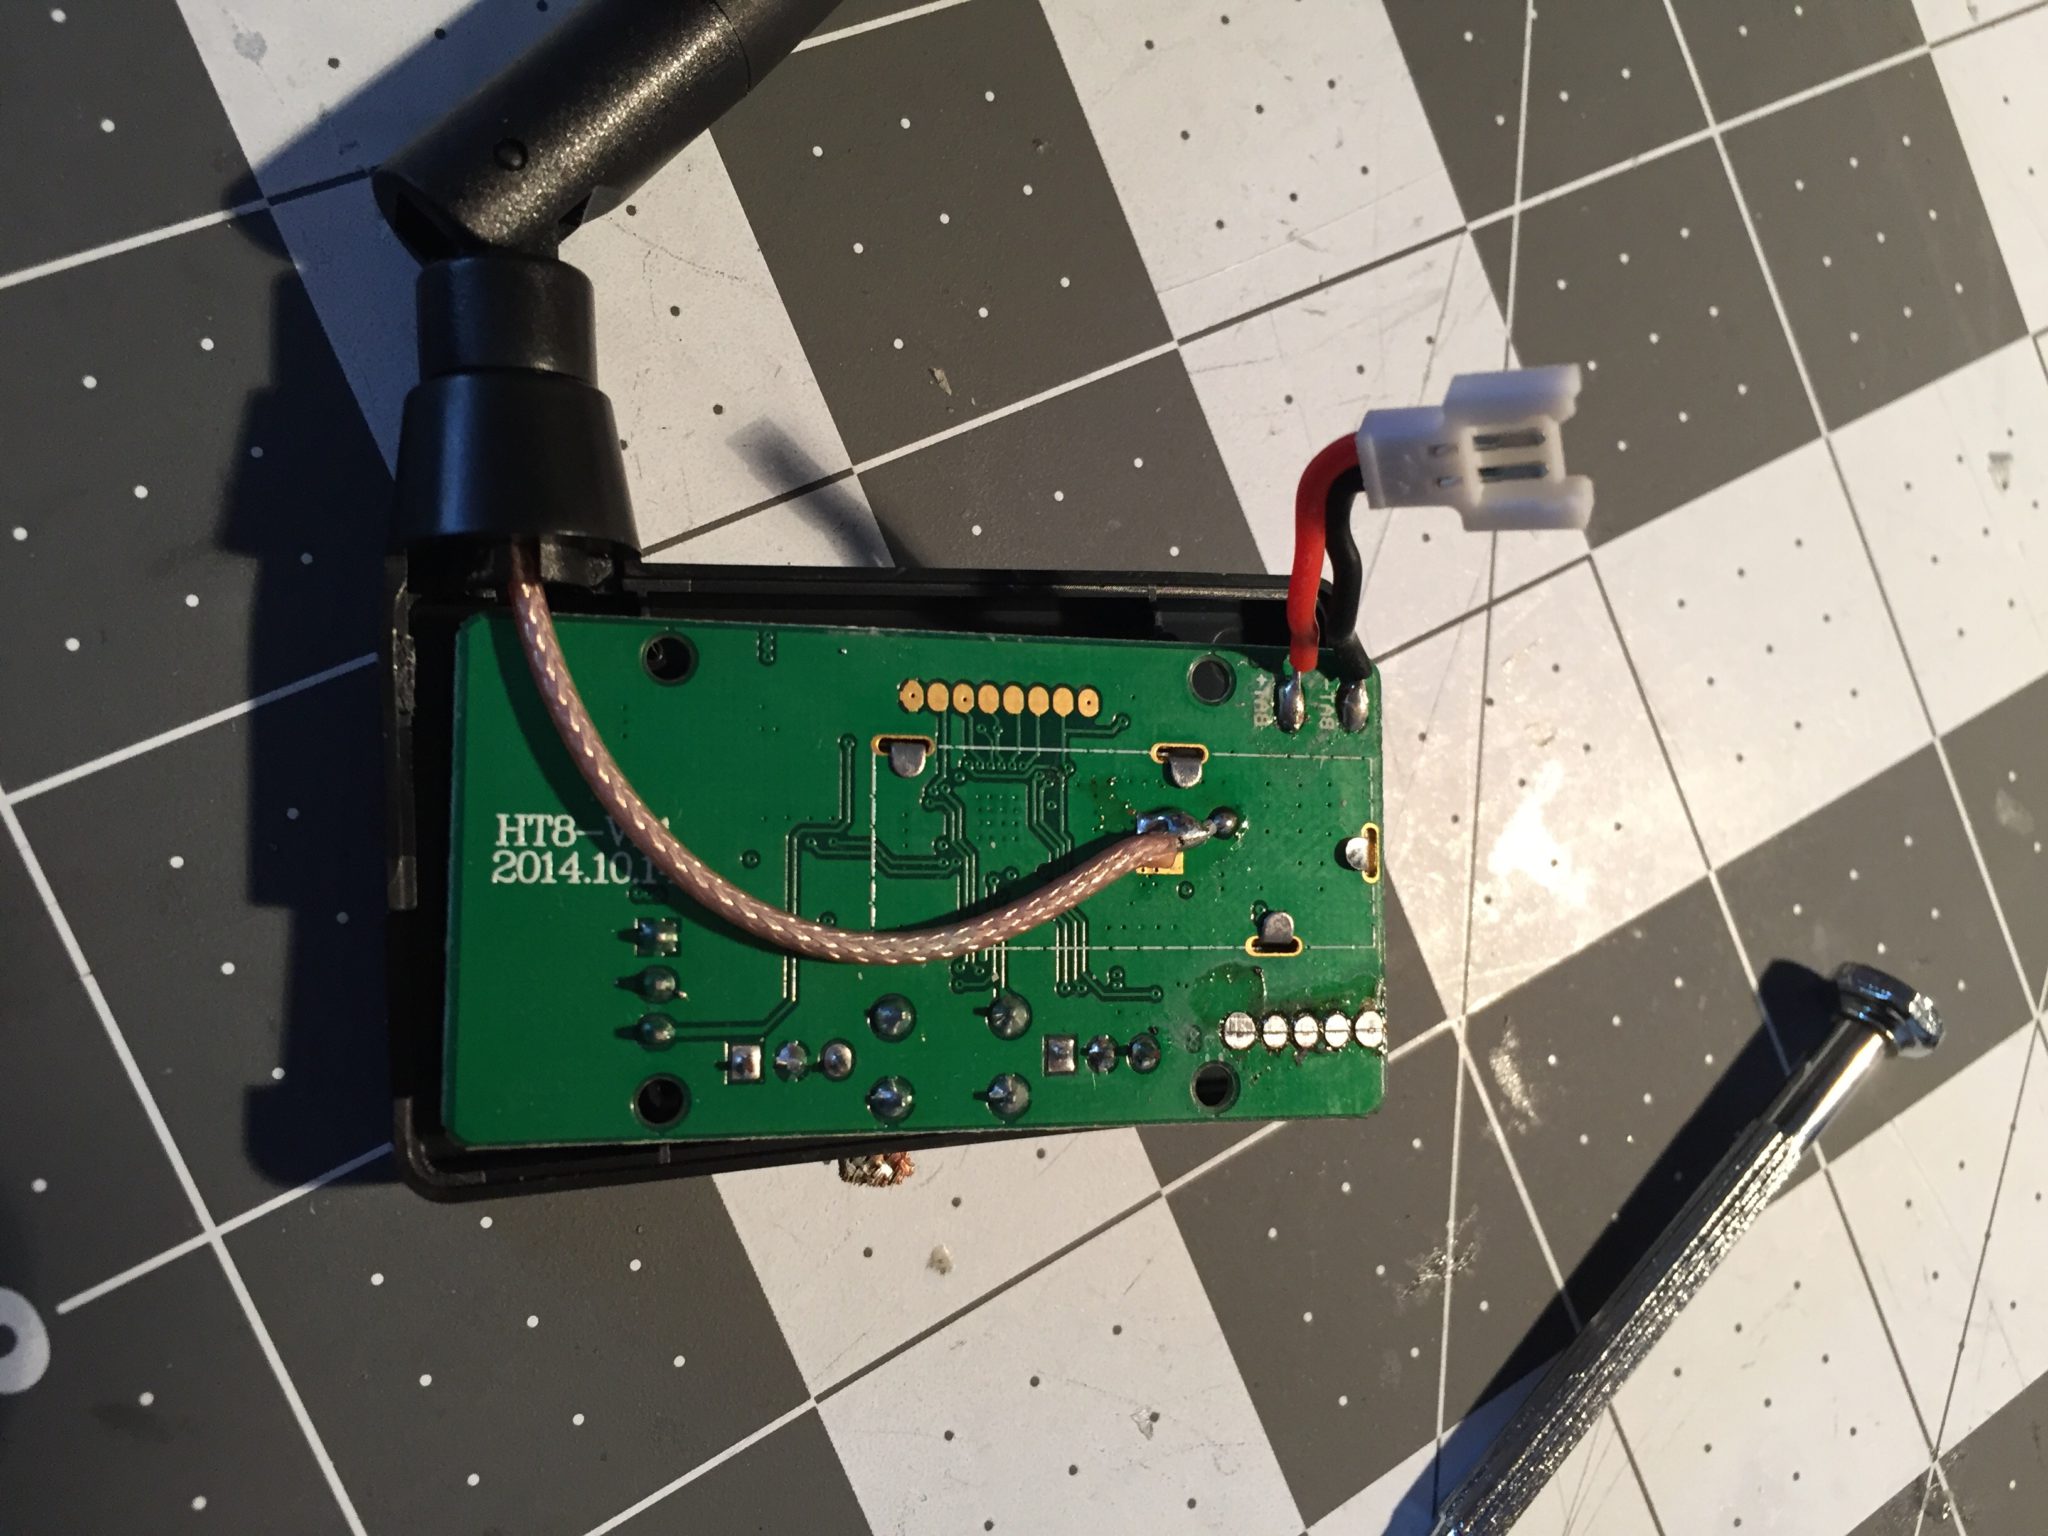
To begin I unscrewed the HT8 transmitter case and removed the included lipo battery. I then de-soldered the battery connector and the antenna.
With the transmitter circuit board in hand, I could test fit it into the module case. To fill in the space I added two layers of dollar tree foam board cut to fit.
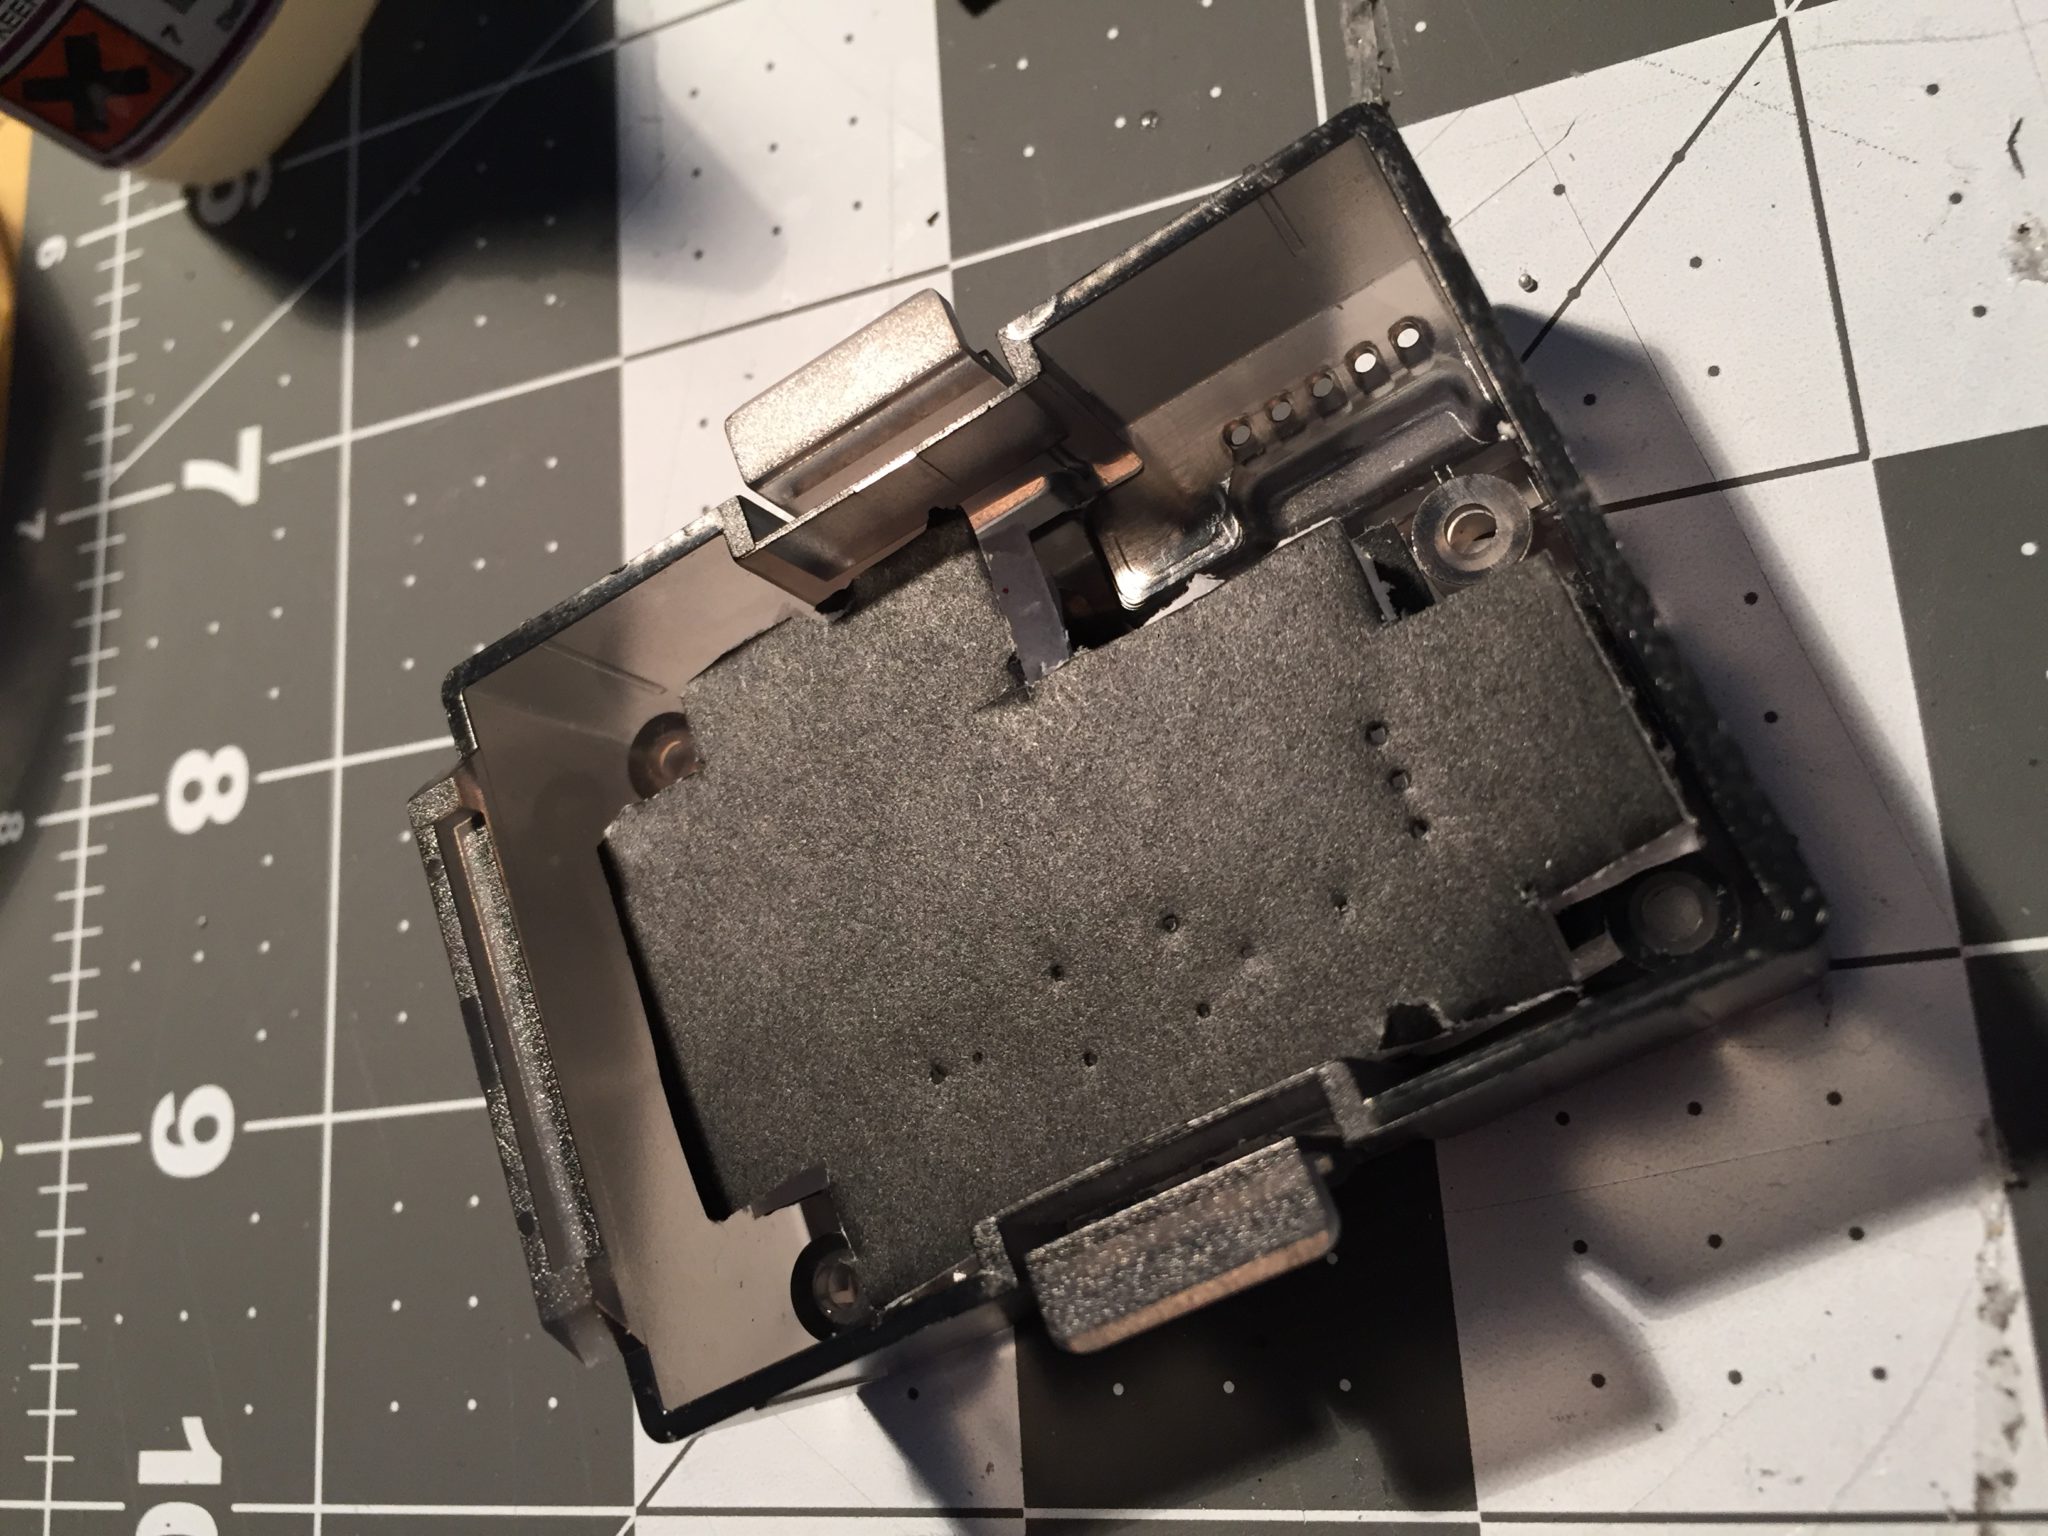
I aligned the circuit board vertically with the on/off switch upwards. So the lid wouldn’t crush the on/off switch, I had to remove some gusset material at the top. To get the case lid to close I would only be able to use 3 out of 4 of the case screws. In the photo, you can see where I used a dremel to remove one of the case screw posts at the bottom of the module. I also drilled a hole to be able to push the mode button on the HT8.
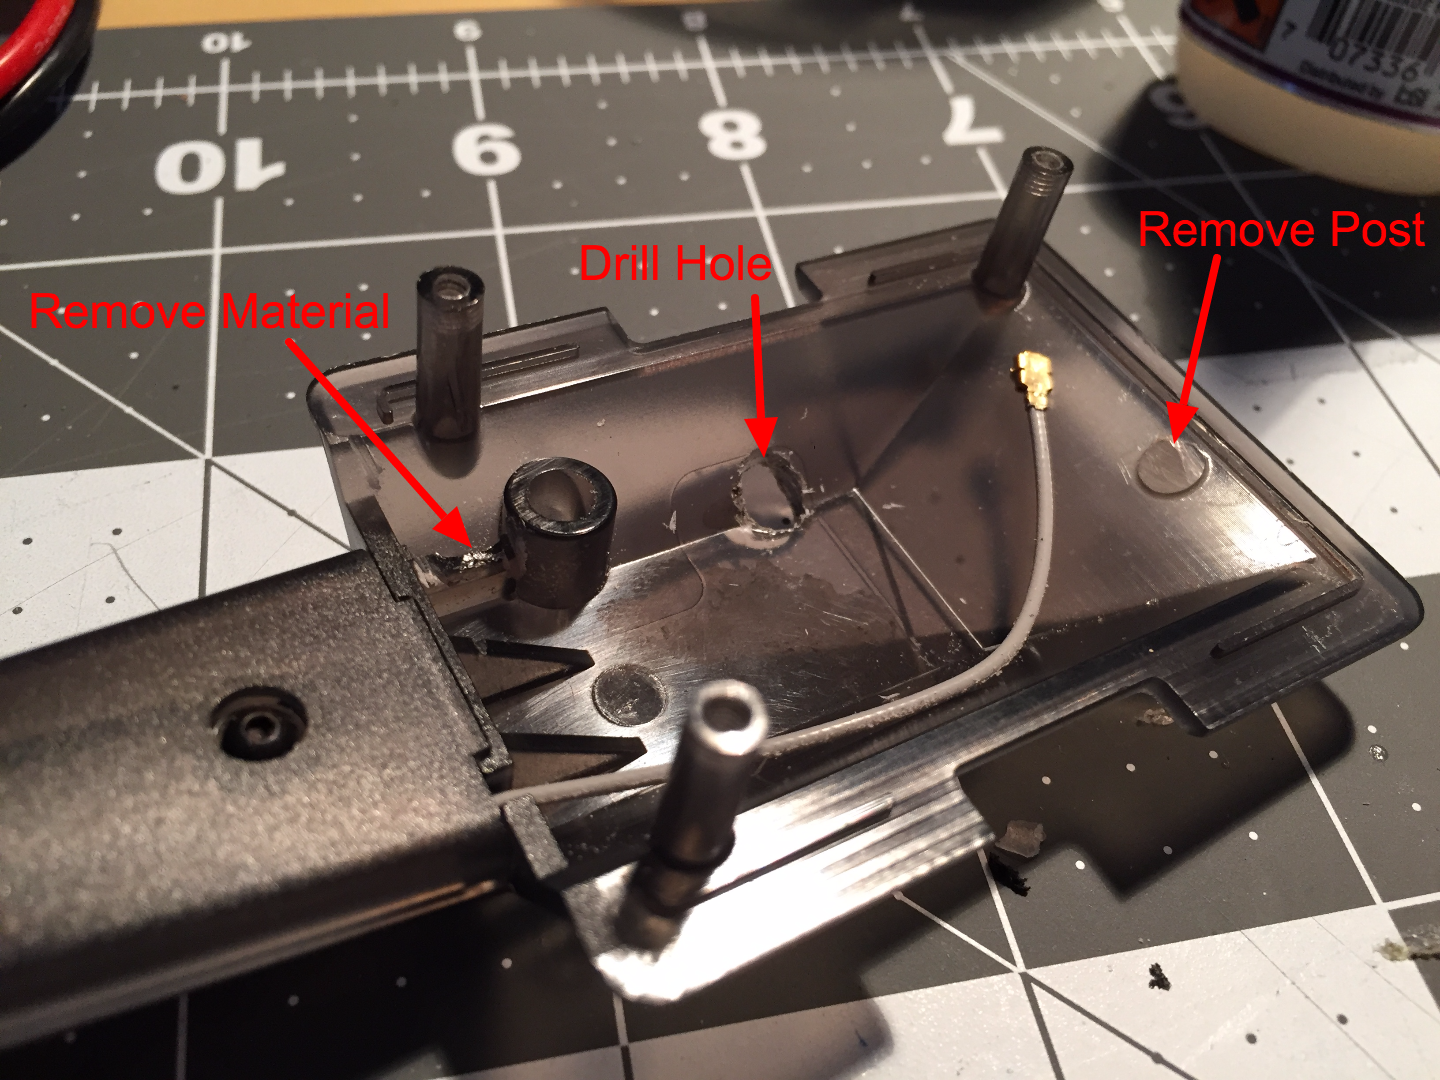
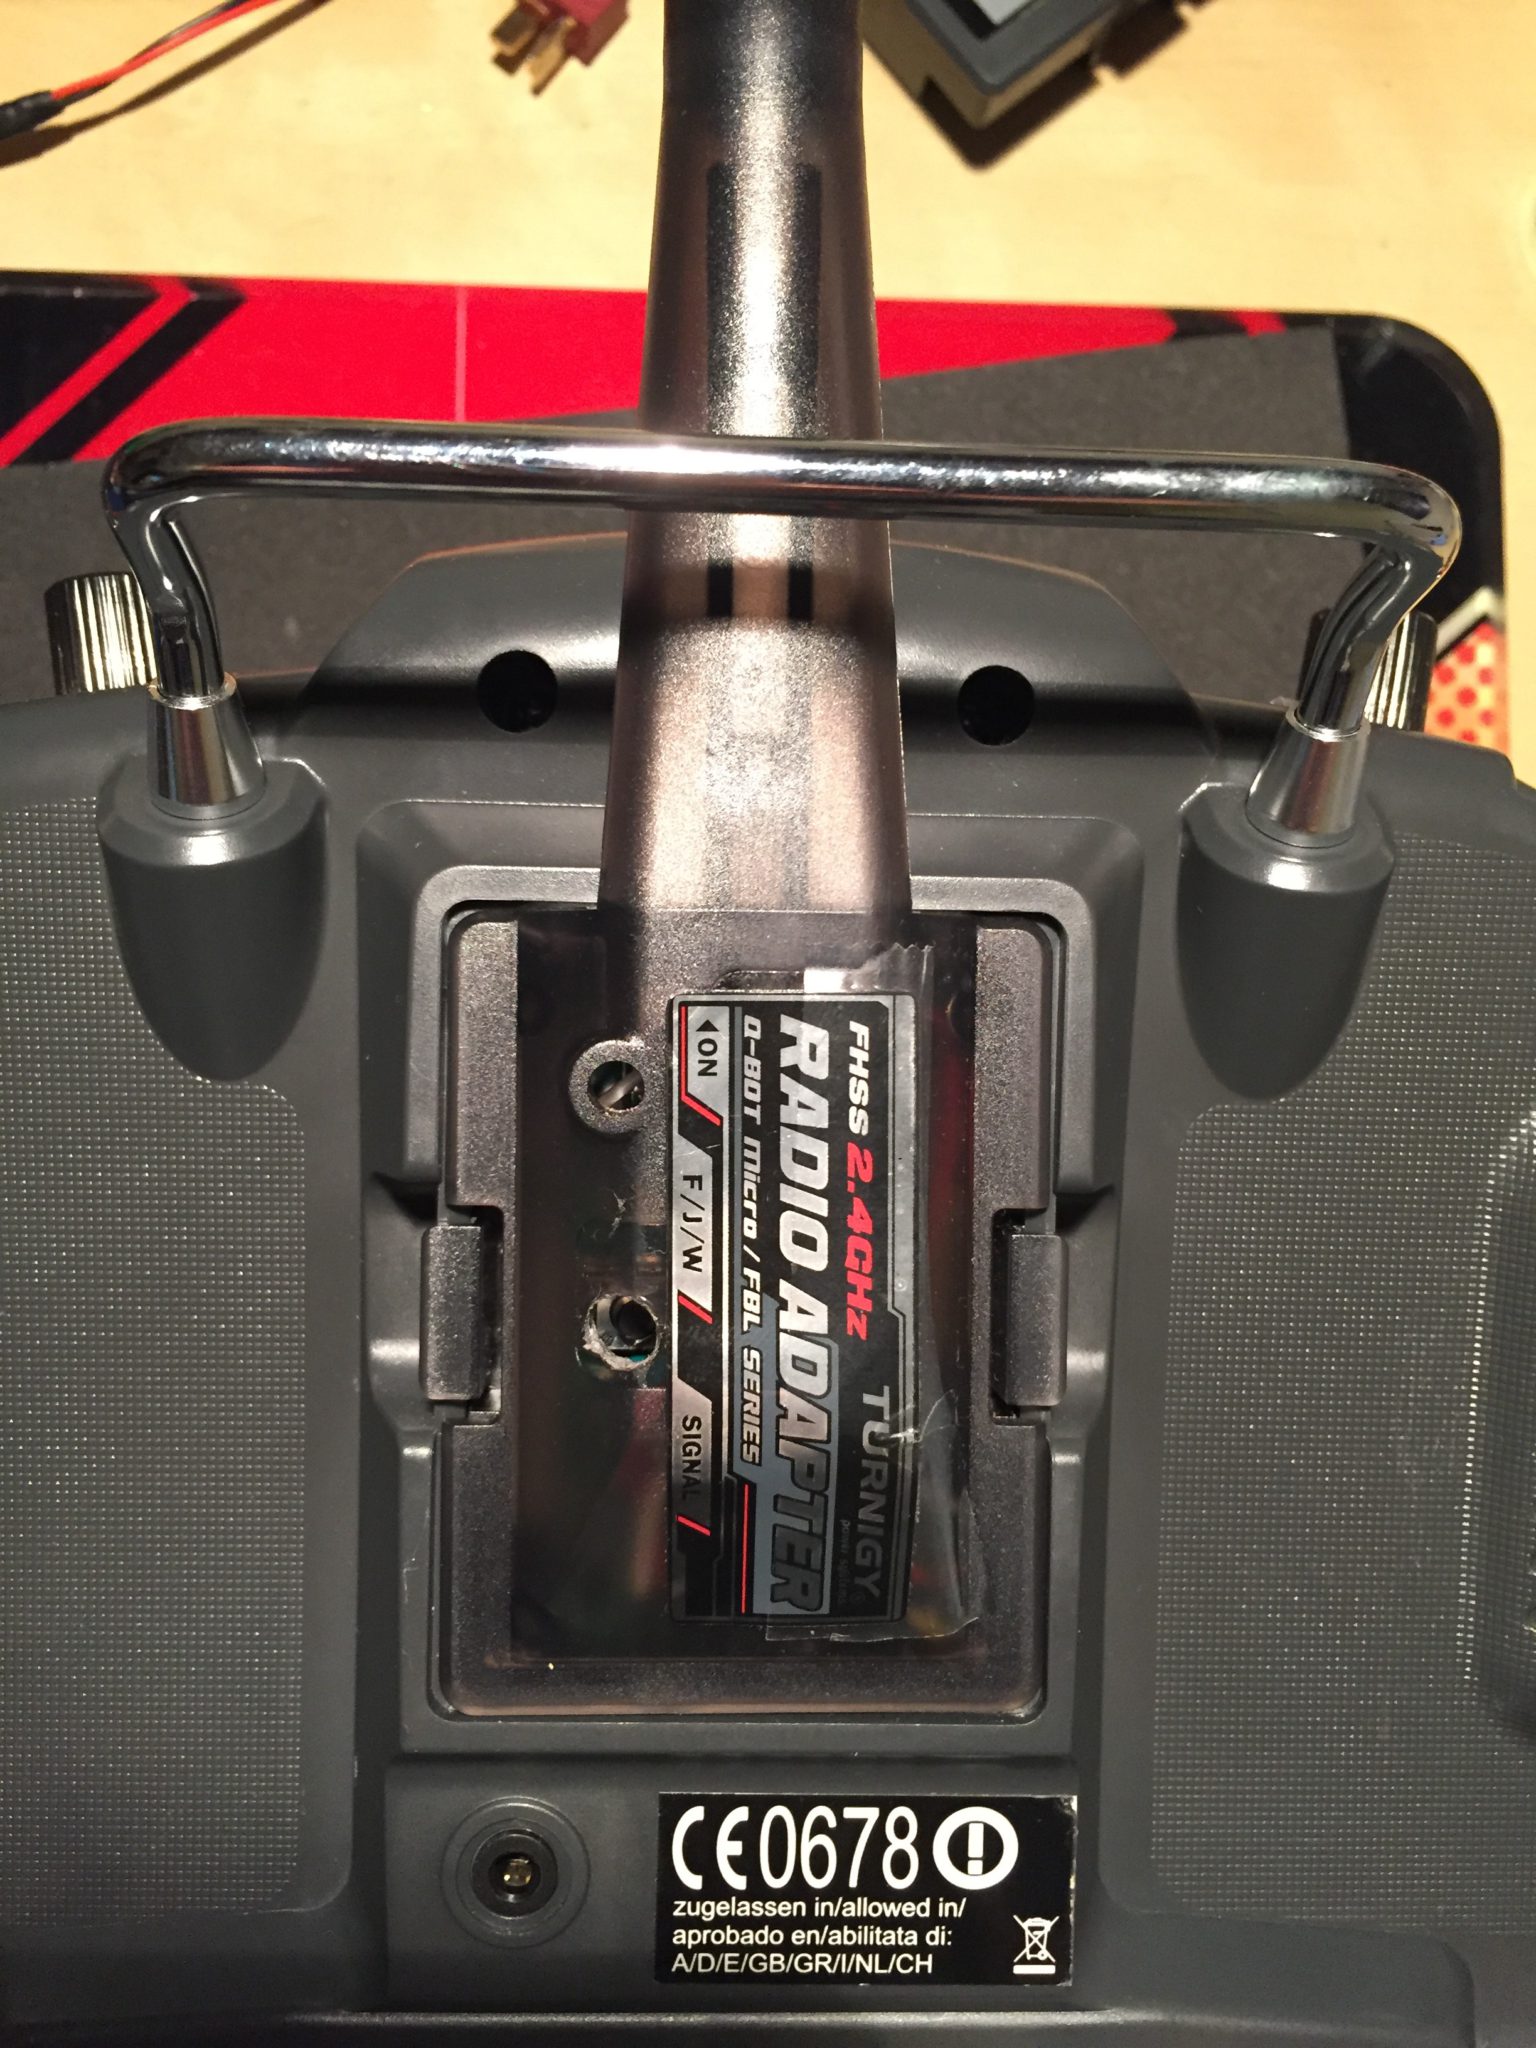
To get the molex connector just right, I dremeled out the holes where the pins normally go through the module case, enough to fit the molex connector through. I snapped the back half of module case into my transmitter, slipped the molex connector over the pins, and used hot glue to hold it into place for perfect alignment.
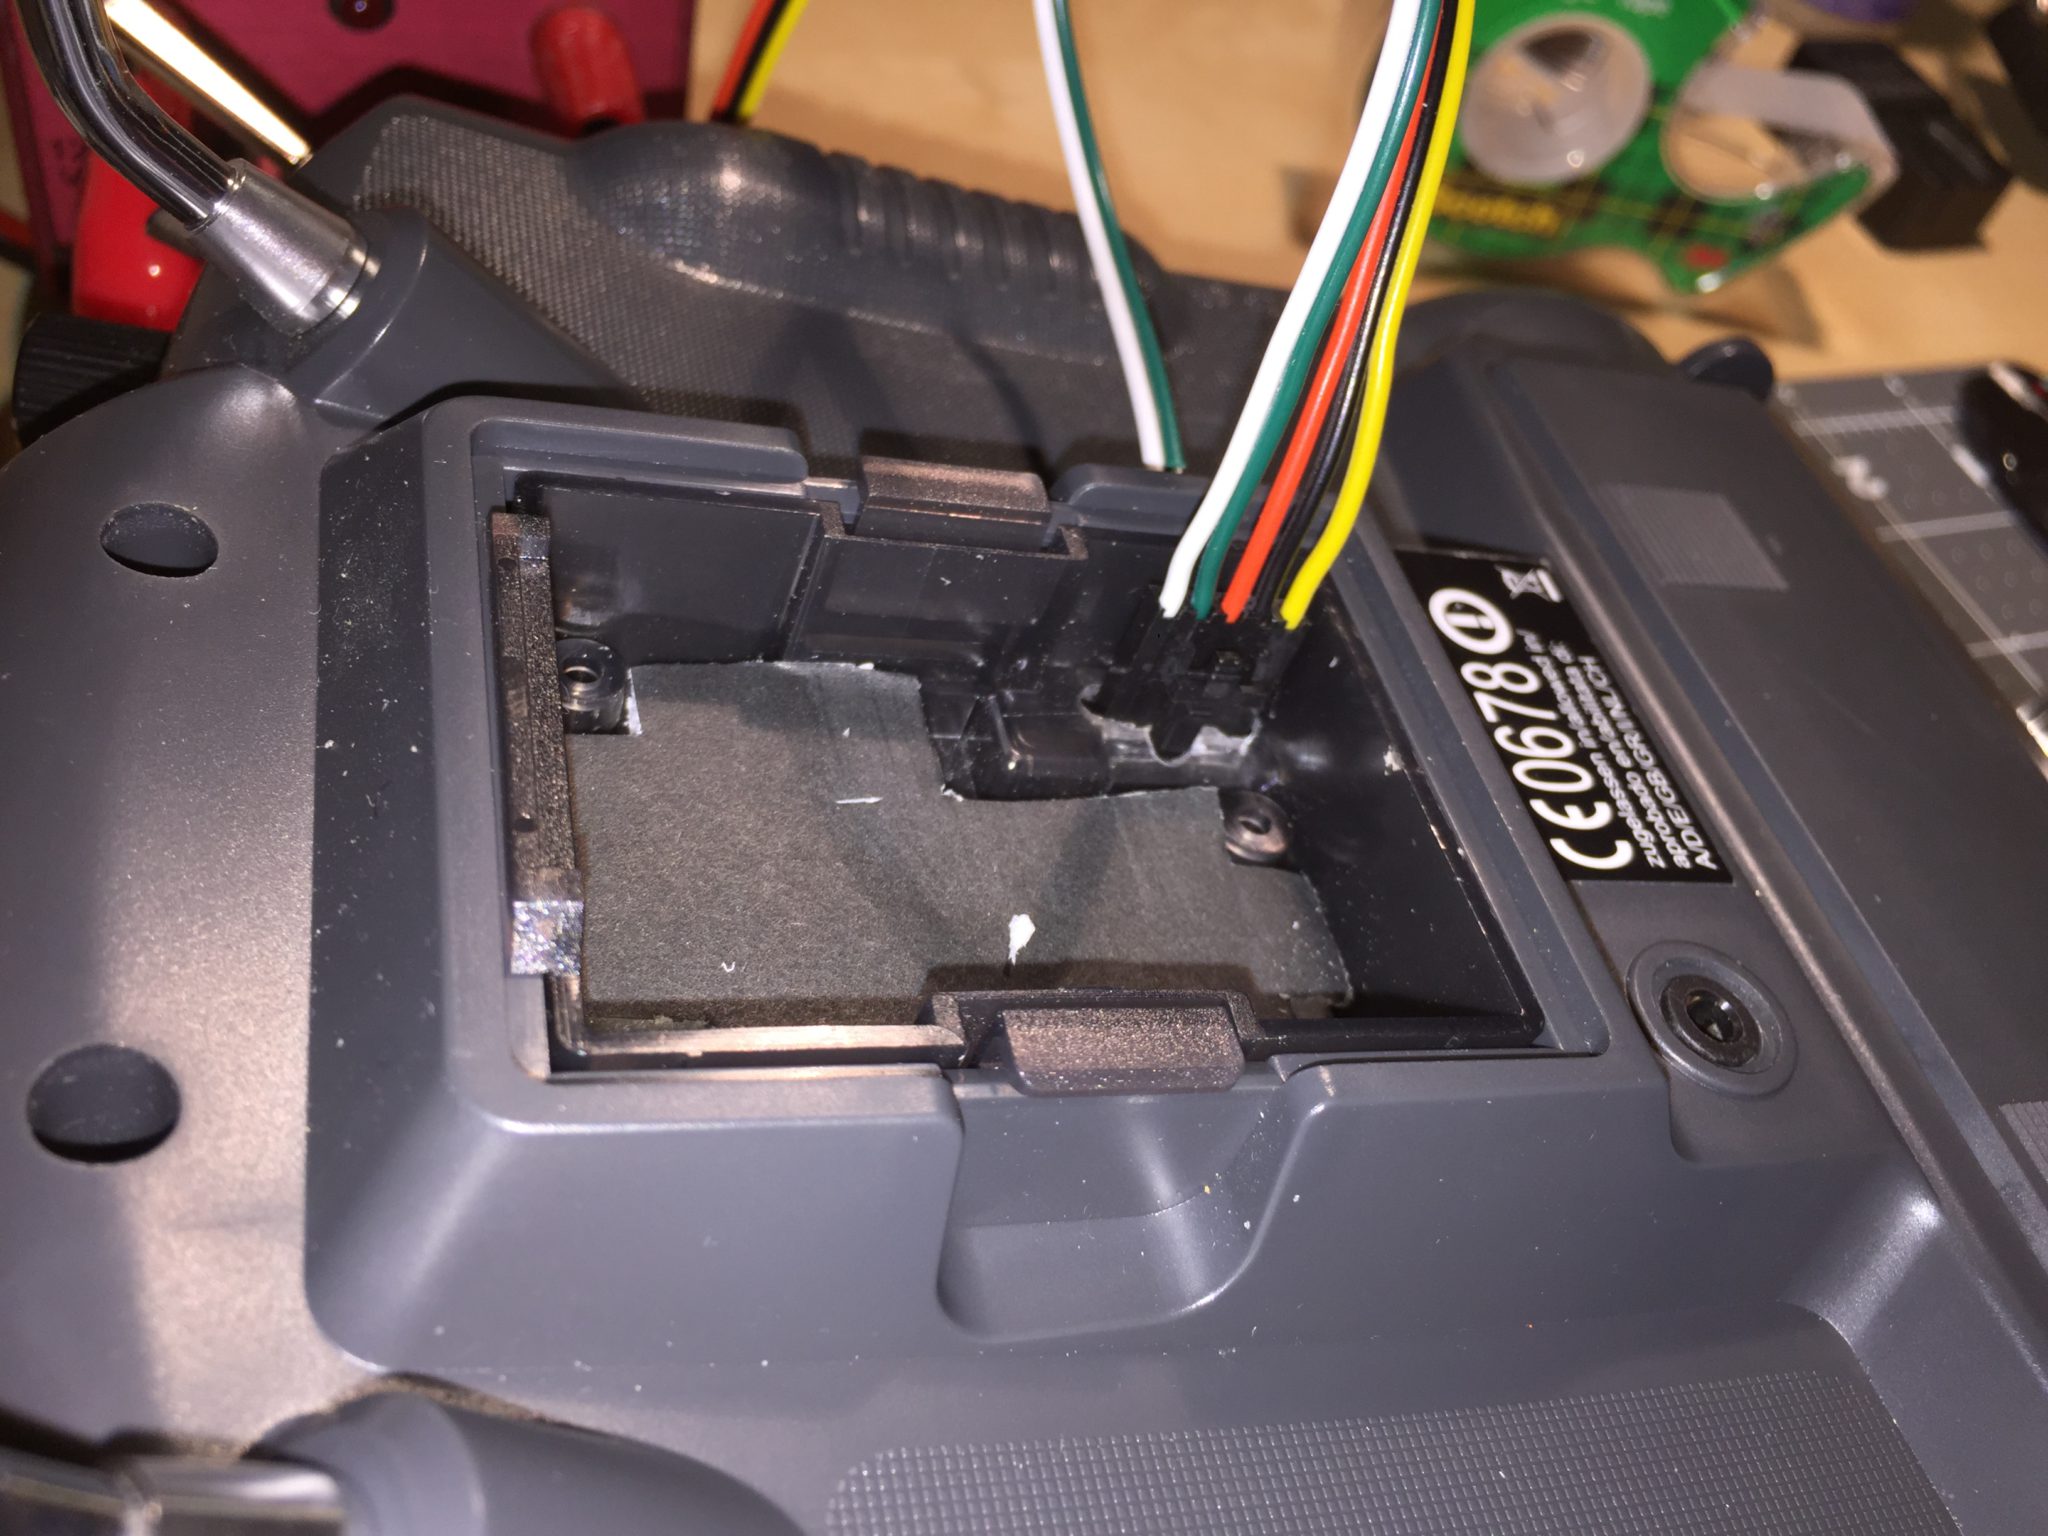
I arranged the molex pin colors the following way from top to bottom:
White: PPM
Green: Ground
Red: +Battery
Black: Ground
Yellow: Unused
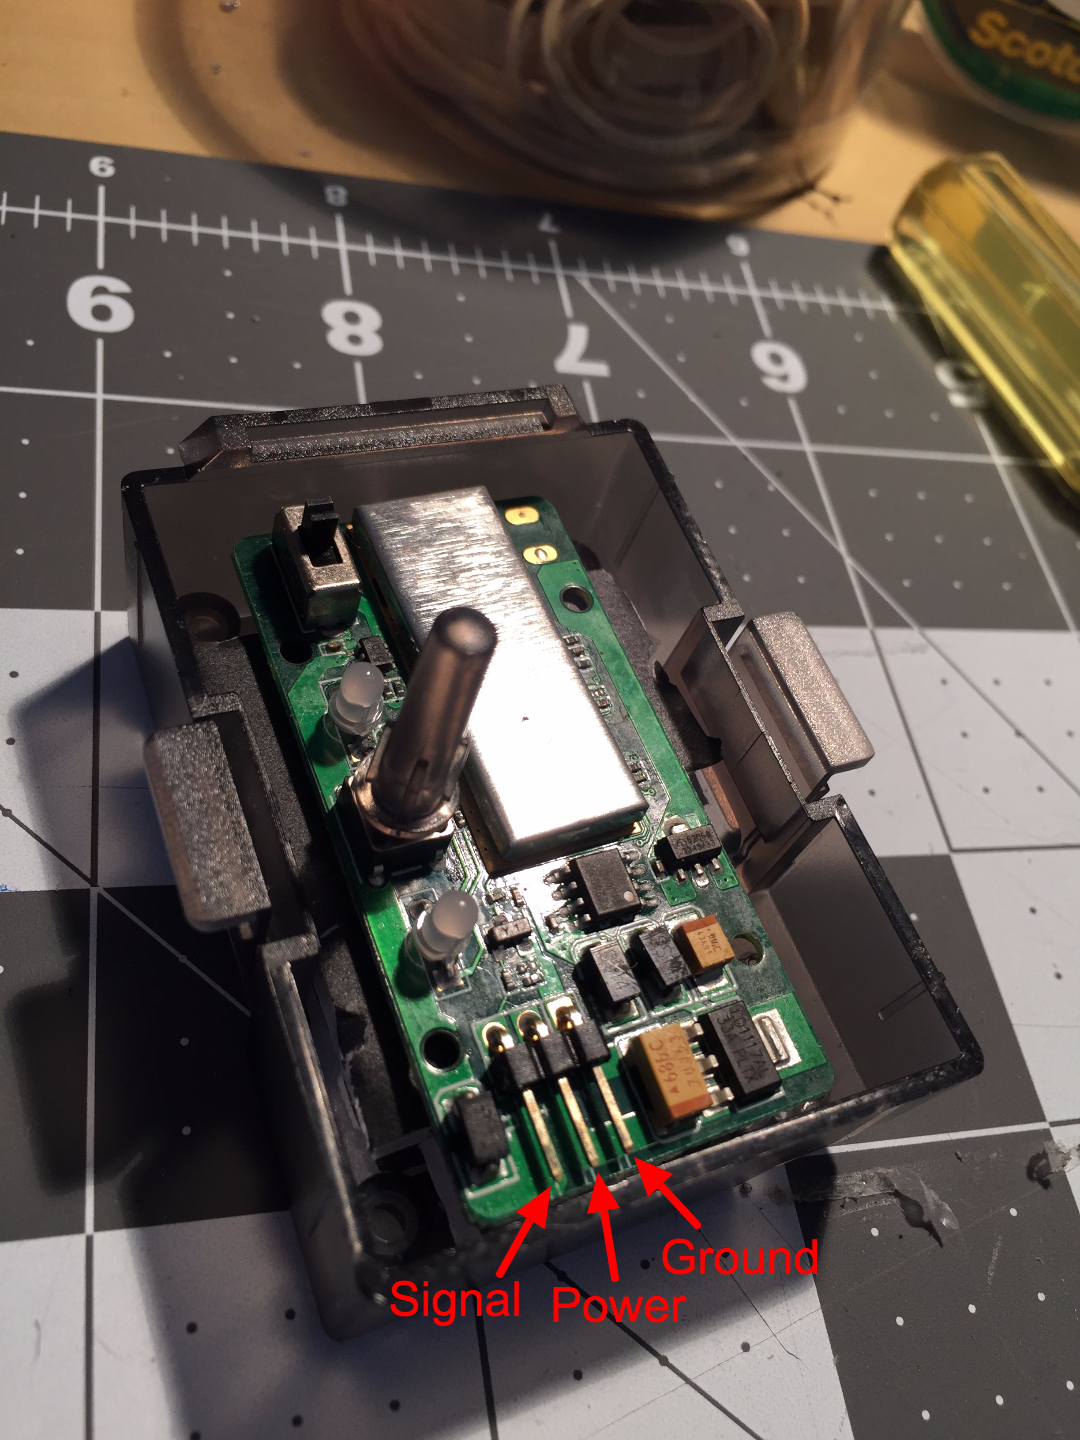
Unlike the RCGroups write-up, I decided to solder directly to the 3-pin header rather than the bottom of the circuit board as I felt it was easier. I soldered the ends of green and black together and then soldered them to the pin closest to the middle of the board. I soldered the white wire to the pin closest to the edge of the board. I soldered the red wire to the middle pin.
I cut the connector off of the included antenna cable and carefully stripped the cable to separately expose the shielding and core wire. Then I soldered the antenna onto the HT8 module board in the same manner as the included antenna (see the opened HT8 image).
With everything wired up I was ready to pack it in and fasten it shut. To be clever, I used a dab of hot-glue to tack the included button extension to the mode switch on the HT8. The button extension would go through the hole I drilled in the case for ease of use.
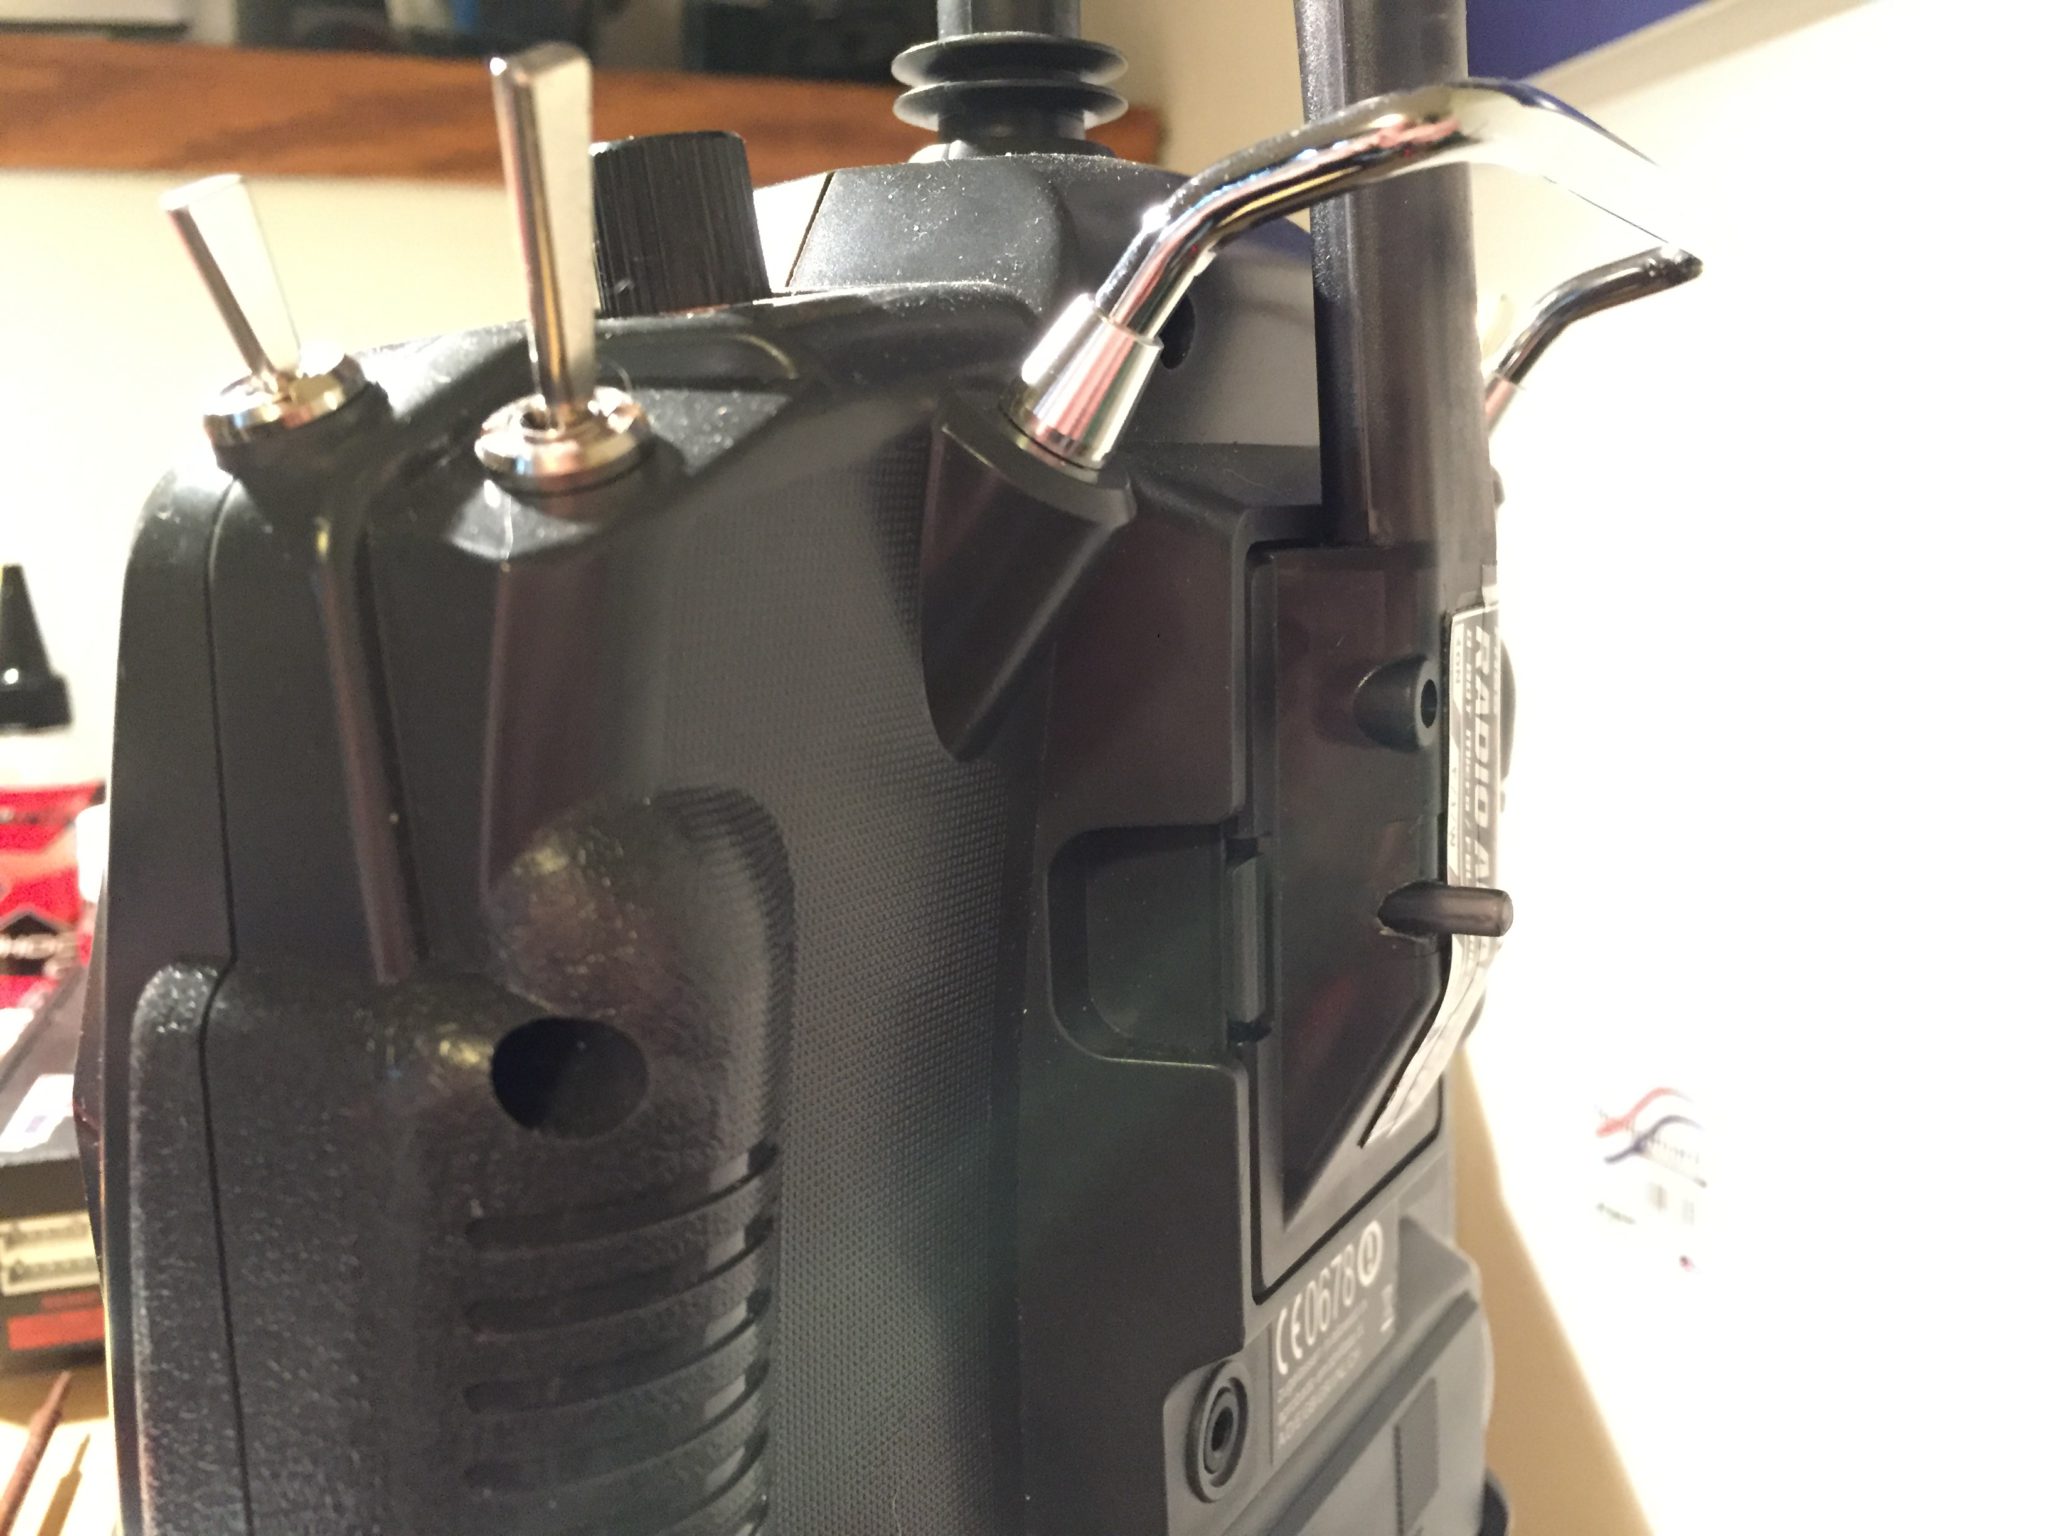
The button with the extension wound up being a problem as it protrudes from the module quite a bit. Pressing the mode button switches the HT8 between Futaba, JR, and Walkera modes. Changing modes while a model is active reassigns the channels which can (and will) produce unexpected things to happen. If you set down your transmitter, there’s a good chance this button will get pressed. If your model is on, it will likely do something unexpected that may result in breaking and/or injuring someone 🙁
So I removed the button extension, opting instead to switch modes (which will likely only be required once) by using a small screwdriver.
Happy Hovering!
Leave a Reply